Last updated November 21, 2026
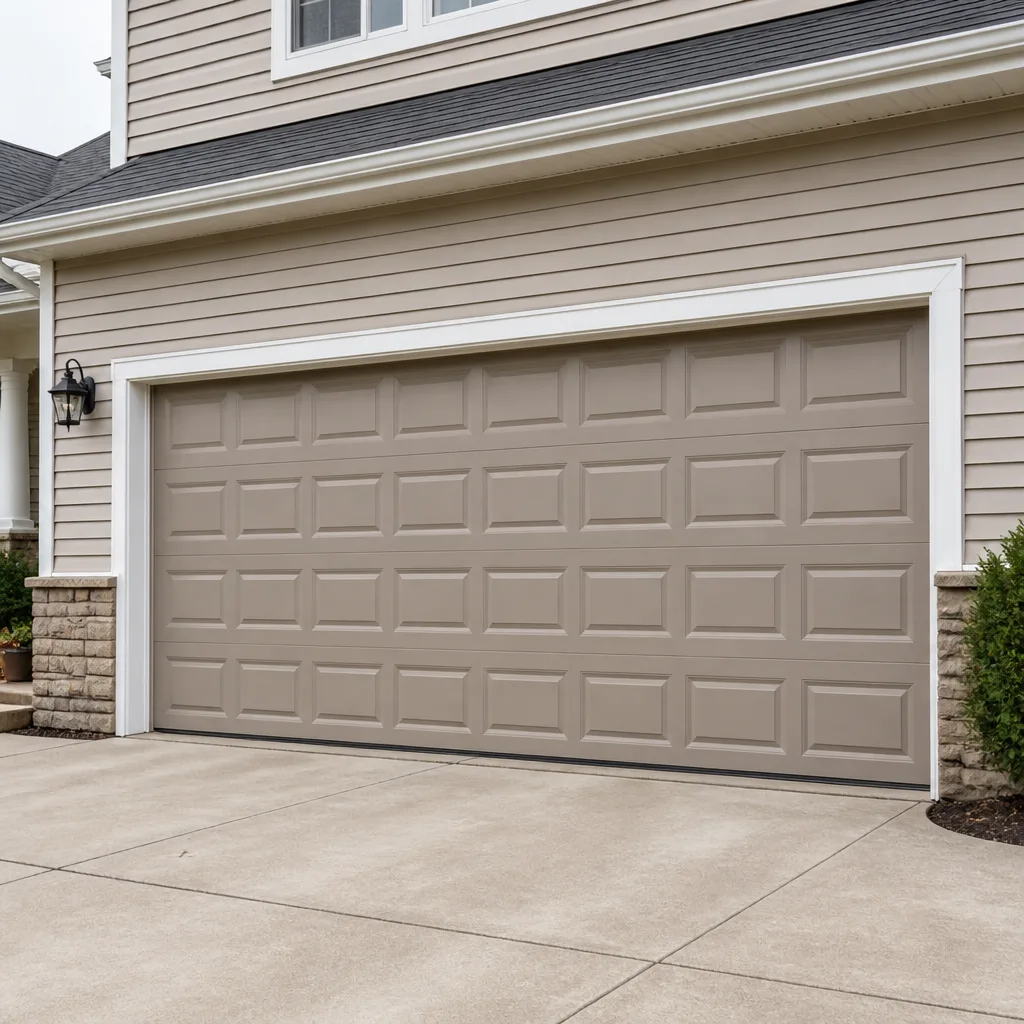 Raised-panel steel
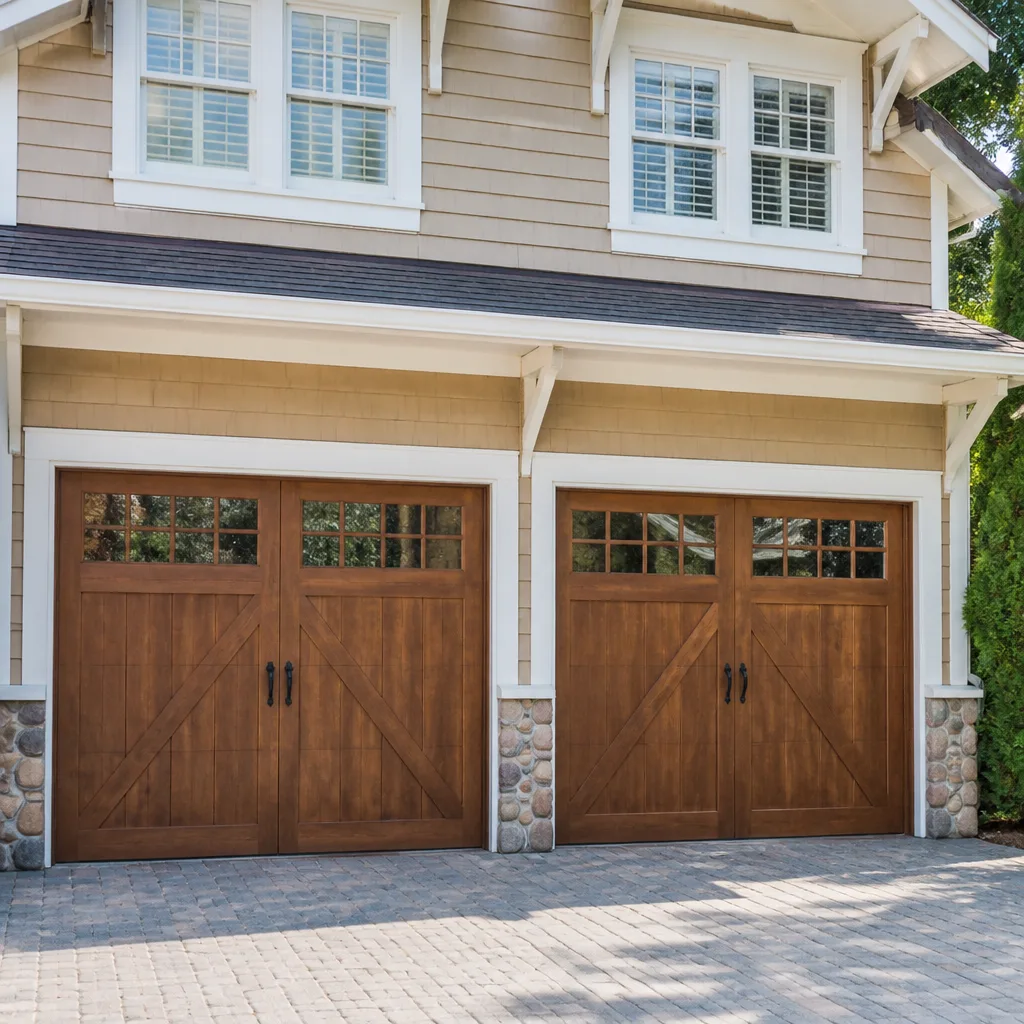 Carriage house
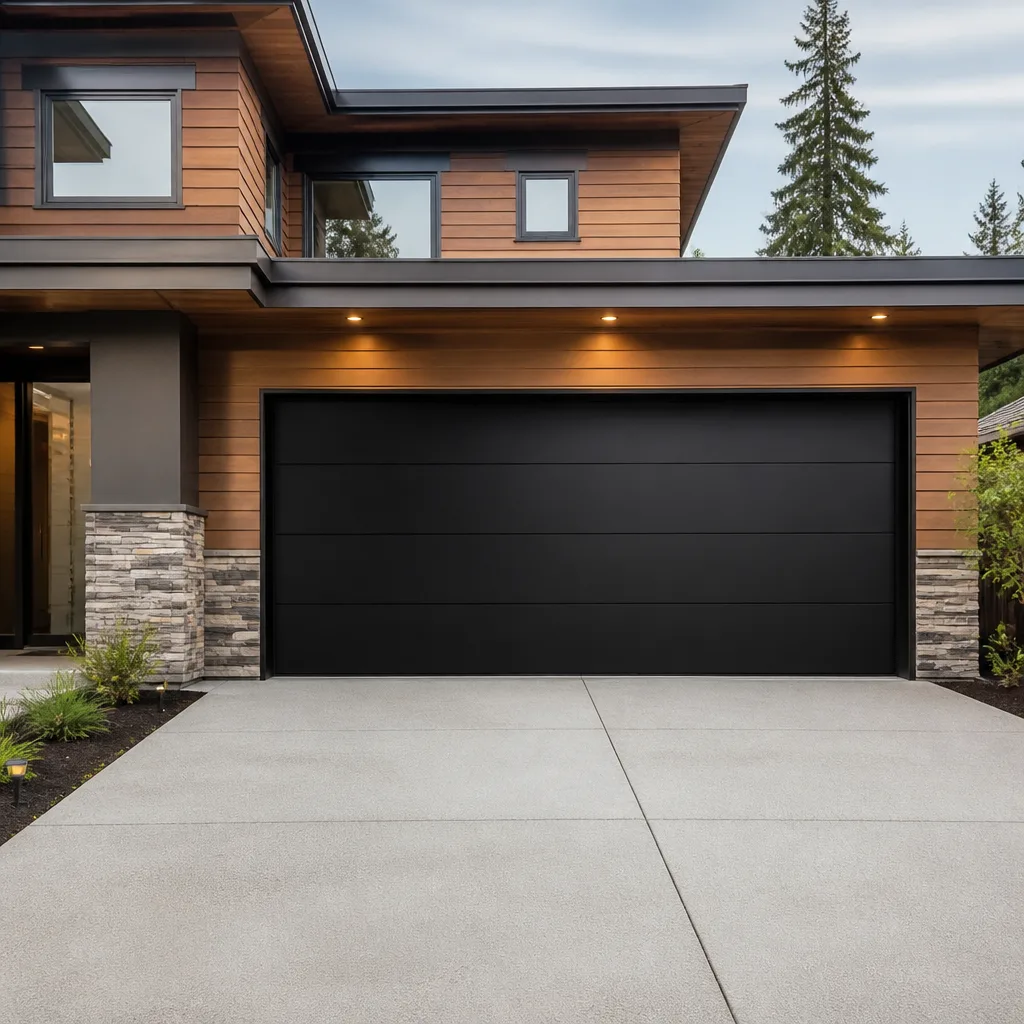 Modern flush
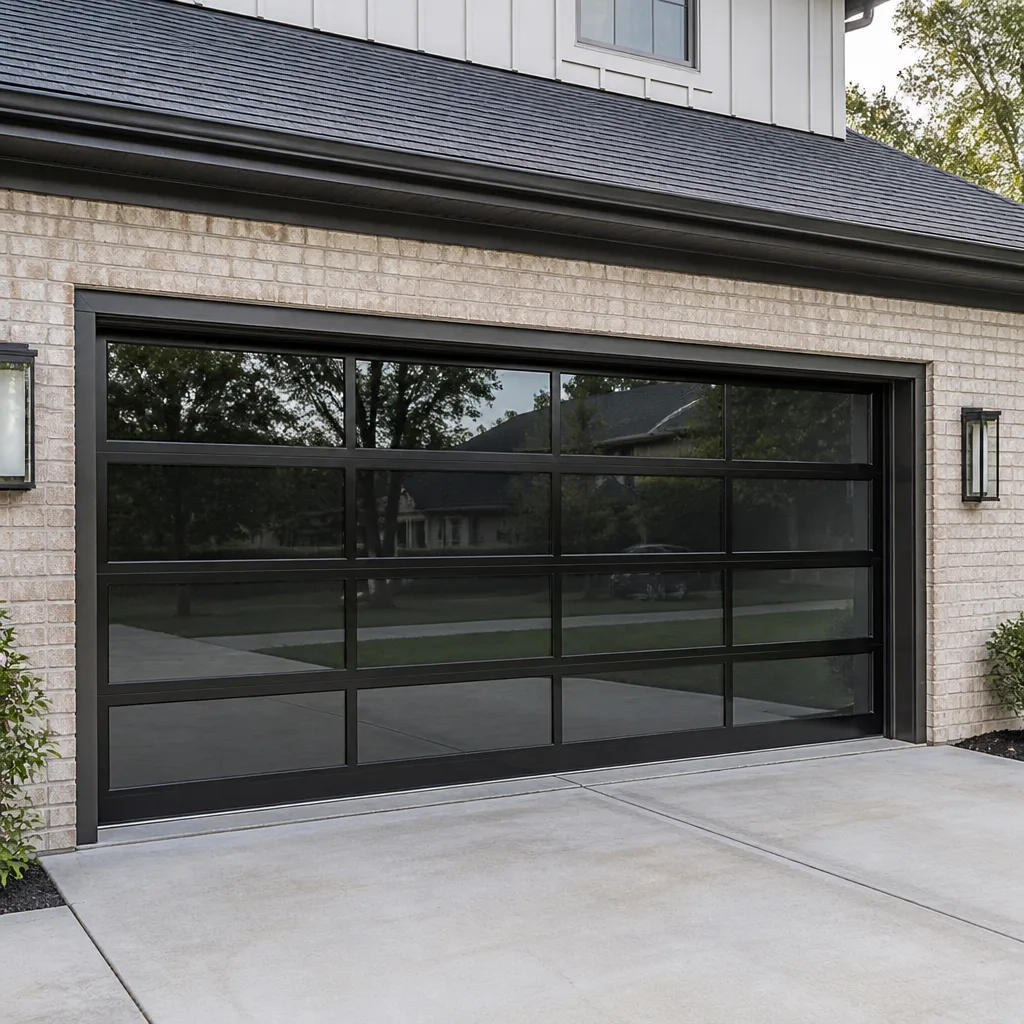 Full-view glass
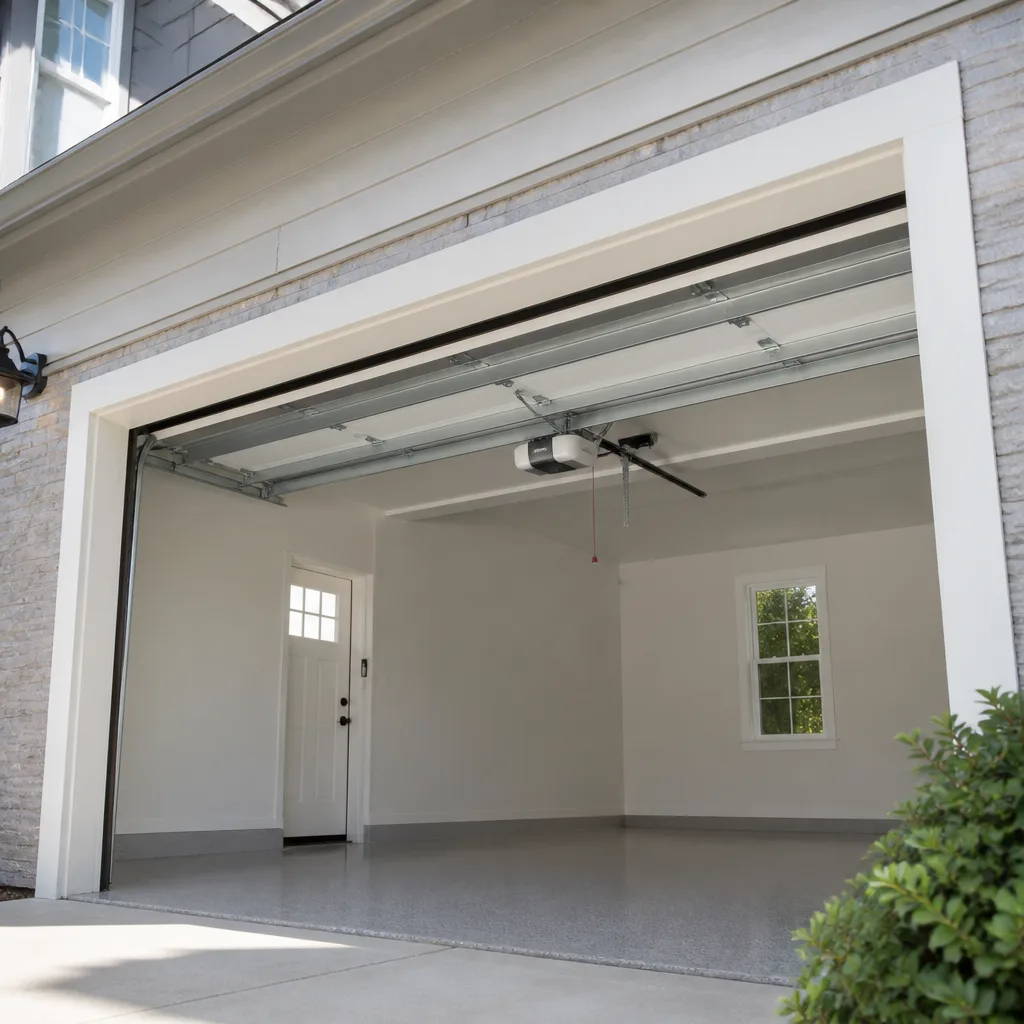 LiftMaster openers
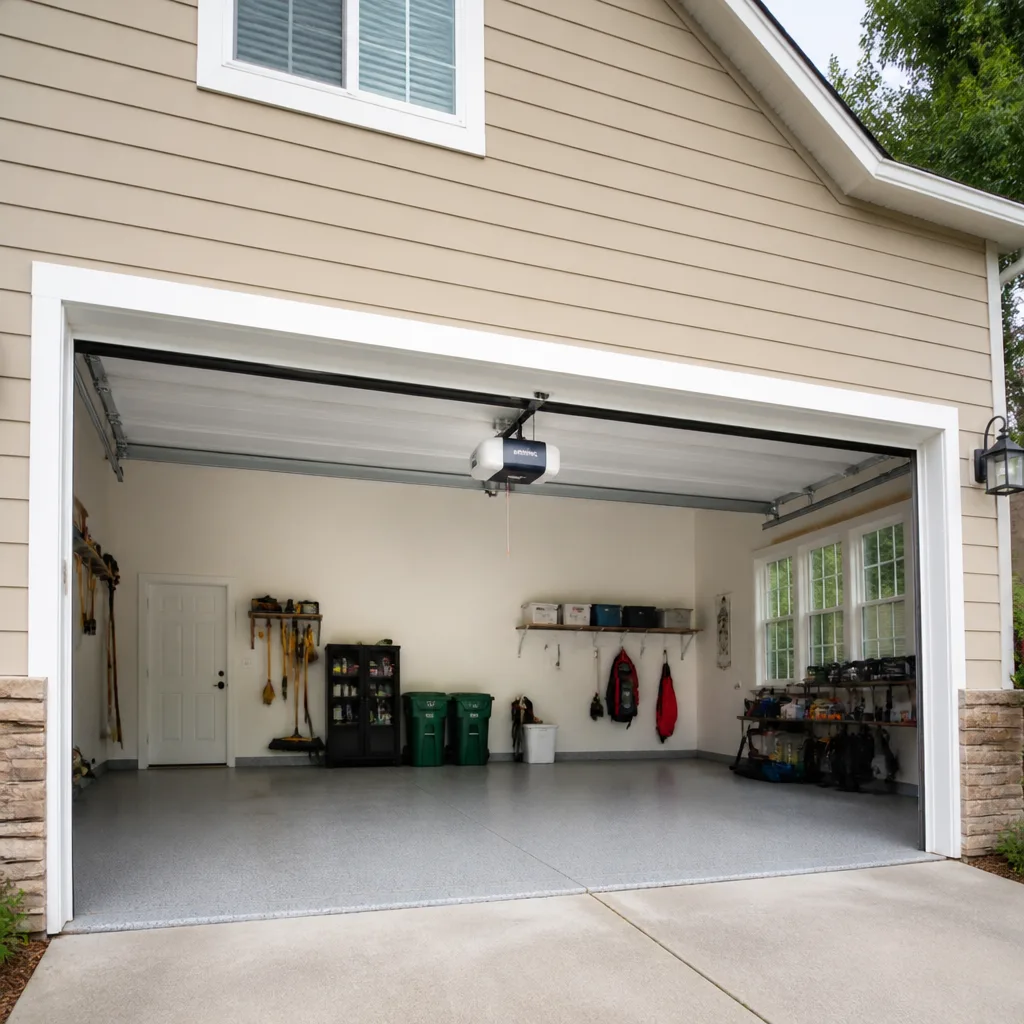 Chamberlain openers
Full 25-point door and opener safety check with every visit - springs, cables, rollers, tracks, and your LiftMaster or Chamberlain opener included
You get a price before we start. It does not change when the pro arrives.
Get your free estimateGarage Door Repair Troubleshooting in Norwalk: Common Problems and How to Fix Them
A door that reverses before it touches the floor is almost never a sensor problem. Nine times out of ten it’s the limit switch telling the opener the door has already closed, and tightening the safety eyes will waste twenty minutes and change nothing. That single example explains why so many Norwalk garages stay broken for weeks: homeowners chase the symptom they can see instead of tracing it back to the part that actually failed. This guide teaches the diagnostic logic a technician uses on a service call in Norwalk – how to sort a problem into mechanical, electrical, or structural before you touch anything – plus the Norwalk-specific reasons doors fail here: freeze-thaw cycles that work cables loose, humidity swings that warp panels, and the pileup of winter road grit that grinds rollers flat. You’ll also get the exact moments where diagnosis has to stop and a professional has to take over, because garage doors are the heaviest moving thing attached to your house.
Quick Answer
Most garage door problems in Norwalk fall into one of three categories: mechanical (broken springs, frayed cables, worn rollers, bent track), electrical (opener logic board, safety sensors, wiring, remote pairing), or structural (warped panels, loose hinges, sagging framing). Diagnose the category first by running the door with the opener disconnected, then narrow to the failed component. Anything involving torsion springs, cables under tension, or the door coming off the track is a professional job – do not attempt those yourself.
Styles & brands we work with
- Raised-panel steel
- Carriage house
- Modern flush
- Full-view glass
- LiftMaster openers
- Chamberlain openers
Table of Contents
- The Component-First Diagnostic Framework
- How Norwalk’s Climate Wears Out Garage Doors Faster
- Is Your Spring Broken? How to Test Safely Without Touching It
- Decoding Opener Blink Codes: LiftMaster vs. Genie vs. Others
- Door Won’t Close All the Way? Work Through These Steps
- Grinding, Squealing, and Banging: What Each Noise Tells You
- Track Alignment, Rollers, and Panel Damage
- Where DIY Ends: The Stop-Here Markers
The Component-First Diagnostic Framework
Before you look at a single part, sort the problem into one of three systems. This is the first thing a technician does on arrival, and it saves an hour of guessing. Run the door by hand with the opener release pulled – if it moves freely and smoothly, the mechanical side is probably fine and you’re looking at an electrical issue. If it’s heavy, binds, or won’t stay up when you let go halfway, you’re looking at mechanical failure.
Here’s the framework we use, and the order matters:
- Test the mechanical system with the opener disengaged. Release the trolley, lift the door to waist height, and let it go. A healthy door stays put or drifts down slowly. A door that slams down has a spring or cable problem.
- Check the electrical system next. Reconnect the opener and watch the door cycle. Listen for the motor running without door movement (broken drive gear or stripped trolley), or no motor sound at all (power, board, or capacitor issue).
- Inspect the structural side. Look at the track with the door down. Run your eye along the vertical and horizontal rails for kinks, gaps at the brackets, or track that’s pulled away from the jamb. Check panel seams for warping.
- Narrow to the component. Once you know the system, the symptom points to the part: a loud bang then a door that won’t lift is a spring; a door that goes up but not down is usually a sensor, limit switch, or logic board.
What makes this framework different from a generic checklist is that it tells you when to stop testing. A homeowner who keeps cycling a door with a snapped spring is grinding the opener gear against a 150-pound dead weight. If step one tells you the door won’t hold itself up, skip straight to a call – that’s a spring or cable, and neither is a homeowner repair. If you want a technician to walk through it with you, garage door repair in Norwalk is the place to start, and estimates are free.
How Norwalk’s Climate Wears Out Garage Doors Faster
Norwalk sits close enough to Long Island Sound that the air holds moisture differently than towns twenty miles inland, and that humidity plus the region’s freeze-thaw cycle is the real reason door hardware here ages the way it does. You won’t read about this in a national troubleshooting guide, because most of those are written for a climate that doesn’t swing between a wet 45°F and a hard 20°F and back again in the same week.
What that swing actually does:
- Cables fray at the drum. Water works into the cable strands, the metal expands and contracts with each thaw, and the strands start to separate. Frayed cables are the second most common failure we see after springs, and they fail suddenly because the damage hides up at the drum where you can’t see it.
- Track bolts loosen. Freeze-thaw cycles flex the framing, and the lag bolts holding the track walk out of the wood over a few seasons. A door that’s suddenly catching on one side is often just a track that’s shifted a quarter inch.
- Rollers flat-spot in the cold. Nylon rollers get brittle below freezing, and steel rollers seize when the grease thickens. A door that grinds on a cold morning in January and quiets by noon is telling you the rollers are at end of life.
- Panel seams warp with humidity. Wood and some composite panels absorb moisture unevenly across the seasons, and warped panels bind against the jamb on one side.
That last point matters when you’re choosing a replacement. Brands like Clopay and Amarr offer steel and composite panel options that handle humidity swings better than wood, and choosing the right one now saves you a repair call in three winters. The practical takeaway: in Norwalk, treat cables and rollers as wear items with a shorter life than the door itself. Have them inspected whenever a technician is out for anything else. Freezing temperatures also stiffen the grease in the opener’s drive, so a door that “struggles” only in the cold usually needs lubrication and lighter grease rather than a new motor.
Is Your Spring Broken? How to Test Safely Without Touching It
You can confirm a broken torsion spring in about ten seconds without going near it, and that confirmation matters because it changes what you do next – no cycling the door, no calling the opener the problem. The test is visual and auditory, done from the floor with the door closed.
- Look at the torsion tube above the door. The spring is the coil winding around the shaft. A broken spring has a visible gap – a clean separation of maybe two to four inches between coils, usually with a small winding cone hanging loose.
- Look for the telltale gap at the ceiling line if you have extension springs. Those run along the horizontal track, and a broken one will either dangle loose or show a stretched, separated spring.
- Try lifting the door a few inches by hand with the opener disengaged. If it feels like lifting a car – unnaturally heavy – the spring is doing zero work. A working spring makes the door feel like it weighs about ten pounds.
- Don’t cycle the opener to “check.” Running a motor against a dead spring strips the drive gear, burns the capacitor, or bends the top panel.
Now the important part: a torsion spring is wound to hundreds of pounds of tension and stores that energy even when broken. The winding process requires specific tools (a proper winding bar, not a screwdriver) and genuine risk – one wrong move and the bar can whip free with enough force to break a wrist or worse. This is the single most dangerous repair in the trade and one of the most commonly botched. We handle garage door spring repair as a specialty, and we’ll tell you straight: don’t attempt it yourself. When you do call, expect a technician to measure wire gauge and spring length rather than guessing, because the wrong spring breaks in weeks. Norwalk homes with older doors often have springs that were replaced with whatever was on hand, which is another reason a measurement beats a visual match.
Decoding Opener Blink Codes: LiftMaster vs. Genie vs. Others
A blinking opener LED is the single best diagnostic tool attached to your door, and it’s also the most misread. Ten blinks on a LiftMaster or Chamberlain does not mean the same thing as ten blinks on a Genie, and pulling up a random code chart online is how homeowners end up replacing a logic board they didn’t need. The brand matters here.
What each brand’s lights tend to point at:
- LiftMaster and Chamberlain (same parent, similar logic): the number of blinks on the motor’s diagnostic LED corresponds to a specific fault – sensor obstruction, a limit-setting problem, or a board fault. A blinking light near the safety eyes typically means a sensor issue; a specific repeat count on the main unit points to logic or travel limits.
- Genie: uses a different scheme, where a rapid blink or a set count on the power head maps to travel limits, sensor misalignment, or a motor fault. The same “ten blinks” that means one thing on LiftMaster can point at a different fault entirely on Genie.
- Craftsman: often a single blink pattern tied to the safety sensor, and the remote or wall control is where you’ll see the light flash.
- Wayne Dalton and other brands with proprietary controls: these often control the operator differently, and the code logic follows the door system, not a universal motor.
The right move is to read the code against the exact model on your opener’s label, not a generic chart. We work on your brand day in and day out – LiftMaster, Chamberlain, Genie, Clopay, Amarr, Wayne Dalton, Craftsman, and Raynor – and the number-one cause of a misdiagnosed opener is applying the wrong brand’s code table. If you’ve counted blinks and you’re still not sure what they mean, our garage door opener repair team can read it correctly the first time. For safety, unplug the opener before removing any cover to inspect a board.
Door Won’t Close All the Way? Work Through These Steps
A door that goes up fine but refuses to come down is one of the most common calls we get, and the fix is usually found in five minutes with the right order of checks. “The sensors” is everyone’s first answer and it’s often wrong. Work through these in order and stop at the step that fails:
- Watch the safety eyes. Are both LEDs on the sensor units lit? A solid or steady light means they’re powered and aligned. An off, flickering, or amber-only light means an alignment, wiring, or power fault. Point them at each other and look for a steady glow.
- Check the limit switch. If the door reverses before touching the floor, the opener thinks it has already closed. That’s the limit setting, not the sensors – this is the reverse-before-floor problem from the top of this page.
- Check the travel and force settings. Newer openers have force limits that protect the motor. A door that reverses on contact with the floor often needs its down-travel reduced slightly.
- Look for obstruction in the track. A pebble, a bent bracket, or a loose cable end can stop a door a foot off the floor and trip the reversal.
- Check the wall control wiring. A short in the low-voltage wire to the wall button mimics a constant “stop” command.
If the door also has trouble lifting, you’re likely dealing with a mechanical issue masking as an electrical one, and you’ll want to confirm the spring and cables first. Anything that involves opening the opener’s housing or adjusting travel and force toward the outside of its range should be done by someone who knows the brand’s limits – getting it wrong can make the door ignore the safety reverse entirely, which is when a door turns dangerous. If you’d rather someone else sort it, we offer same-day service and emergency garage door service, and price is quoted and agreed before any work starts.
Grinding, Squealing, and Banging: What Each Noise Tells You
Noise is the door’s way of telling you which part is failing, and each sound maps to a specific component. Learning the translation saves you from chasing the wrong repair.
- A sharp bang like a gunshot, then a heavy door: a torsion spring just let go. Stop operating the door and call.
- Grinding that starts halfway up: worn or seized rollers, or a track that’s shifted. The door is dragging metal against metal.
- Squealing that rises with speed: dry hinges, rollers, or a torsion tube that needs lubrication – not a new opener.
- Rattling from overhead: loose track bolts or a sagging garage door frame, common after a hard freeze.
- Clicking from the opener head: a stripped drive gear or a failing capacitor in the motor. The door stays put or moves an inch and stops.
- A low hum with no movement: the motor is trying to run while something holds it, or the start capacitor has failed.
Here’s the nuance most checklists miss: the timing of the noise matters as much as the sound. A grind that only happens on the last foot of travel points to the horizontal track and the top rollers. A squeal that only shows up on a cold morning points to thickened grease that warms and quiets as the door cycles. Note when your noise happens before you call, and you’ve handed the technician half the diagnosis. We hear these on doors from Genie openers to Raynor systems all over Norwalk, and matching the sound to the timing trims the visit down to the actual repair.
Track Alignment, Rollers, and Panel Damage
Track and roller problems share a signature: the door binds on one side, drags, or won’t quite close flush. The fix is sometimes a ten-minute adjustment, and sometimes a sign the door needs a fuller rebuild. The key is figuring out which.
Run this check-up on a closed door:
- Stand inside and look up the vertical track. Both rails should look parallel and plumb. A rail that bows out at the top or has gaps where it meets the jamb means the bolts walked loose.
- Grab each roller and wiggle it. A roller that rocks in its hinge or wobbles on its stem is worn. Flat-spotted or cracked nylon rollers need replacing – and for a Norwalk winter, swapping worn nylon for sealed steel or heavy-duty nylon lasts longer.
- Check the hinges at each panel seam. Loose hinges let panels sag and rub the track. Tighten the hinge bolts, and replace any hinge with a broken leaf.
- Look at the panel faces in raking light. Small dents in a steel panel are cosmetic. A panel that’s bent out at the edge, cracked, or bowed so it rubs the track is structural and may need replacement.
Track straightening on a heavily bent rail is usually not worth attempting – a bent track never runs perfectly true again, and a kink eventually eats the rollers. If a single panel is warped beyond saving, a partial door replacement is often possible with Clopay or Amarr panels matched to your current door, which keeps the cost down compared to a full replacement. For the structural side, if the framing is pulling apart or the track is up against a sagging header, get a professional to look, because the track can’t sit true on a frame that’s moving.
Where DIY Ends: The Stop-Here Markers
Plenty of garage door maintenance is genuinely doable: lubricating hinges and rollers, cleaning the safety eyes, changing a remote battery, tightening a loose track bolt. The trick is knowing exactly where the safe jobs end. Here are the stop-here markers – if you’ve hit one of these, close the door (if you can safely) and call someone trained.
- Torsion spring work. A wound spring stores enormous energy. Adjusting, removing, or winding one is not a homeowner job, full stop.
- Cables. A snapped or loose cable can whip with the force of a small explosion. Never handle a cable that’s come off the drum.
- Door off the track. Trying to force a misaligned door back onto a track with a pry bar can cause it to drop or spring back onto you.
- Electrical work inside the opener. Unplugged, the board itself is safe, but miswiring sensors or the power supply can create a fire or shock hazard.
- Adjusting the force limit beyond spec. Cranking the force up to force a door that binds is how the safety reverse stops working – the exact failure that makes a door injure someone.
A dedicated specialist rather than a general handyman is what you want once you hit any of these markers. We work on your brand, so the diagnosis is accurate the first time rather than a round of trial-and-error across unfamiliar hardware. When a cable, spring, or track is at issue, get it fixed properly today – Norwalk Garage Door Repair Pros handles the full spectrum from a single spring to a complete new door, so you aren’t calling three different contractors for related problems.
Common Mistakes to Avoid
- Blaming the safety sensors for everything. A door that reverses before the floor is almost always a limit switch or travel setting, and tightening the eyes first wastes time and fixes nothing.
- Cycling a door with a broken spring. Running the opener against a dead spring grinds the drive gear, bends the top panel, and turns a spring repair into an opener repair too.
- Ignoring a frayed cable because the door still works. In Norwalk’s freeze-thaw swings, cable strands separate quietly at the drum. A cable fails all at once, not gradually – catch it during any other service call.
- Reading blink codes against the wrong brand. A code chart written for a LiftMaster doesn’t apply to a Genie. Use the model on your opener’s label or let a technician read it.
- Using a screwdriver as a winding bar. The most dangerous DIY mistake in the trade. A screwdriver can slip out of a torsion spring cone under full tension.
- Cranking the force limit up to fix a binding door. That overrides the safety reverse. Fix the binding instead of overriding the safety.
- Skipping the rollers before blaming the opener. Half the “failing motor” calls we see are really worn rollers dragging the door. Lubrication and new rollers are cheaper than a new opener.
See the difference
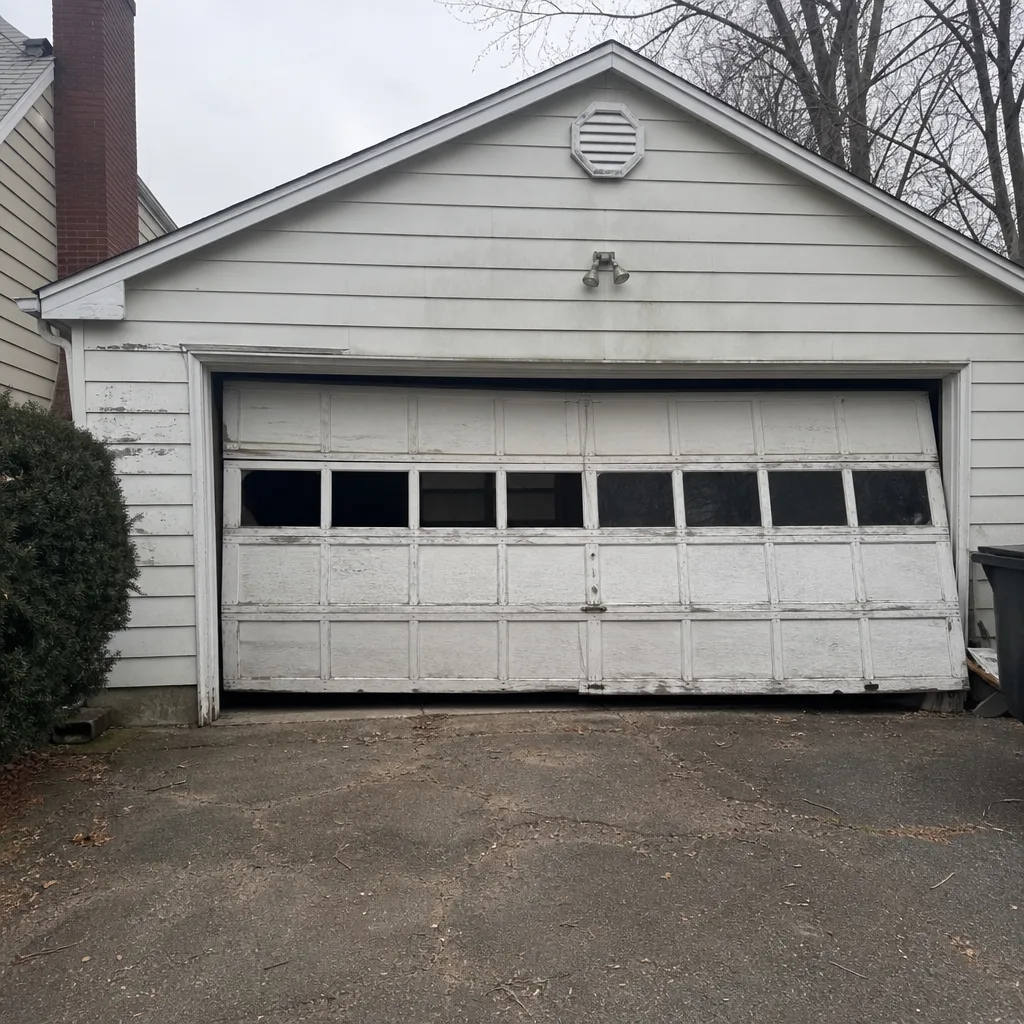 Before
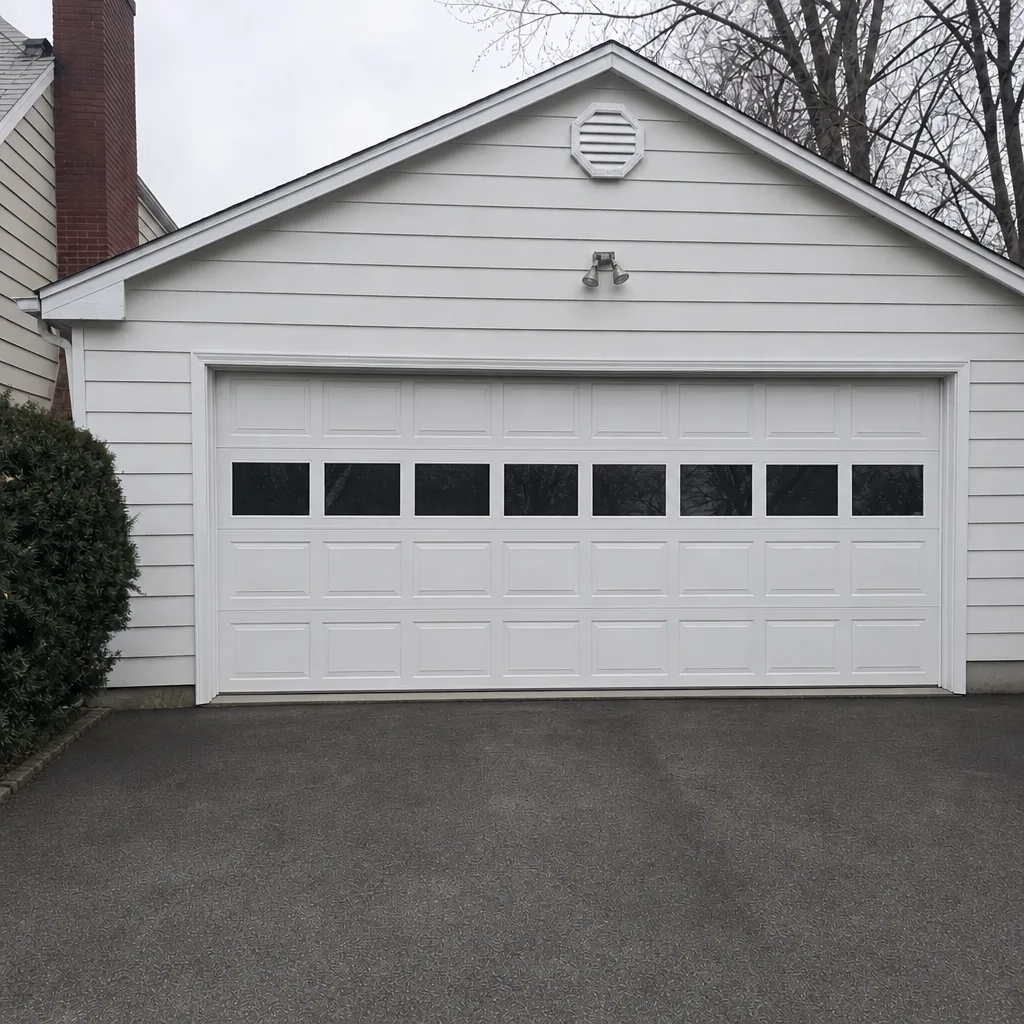 After
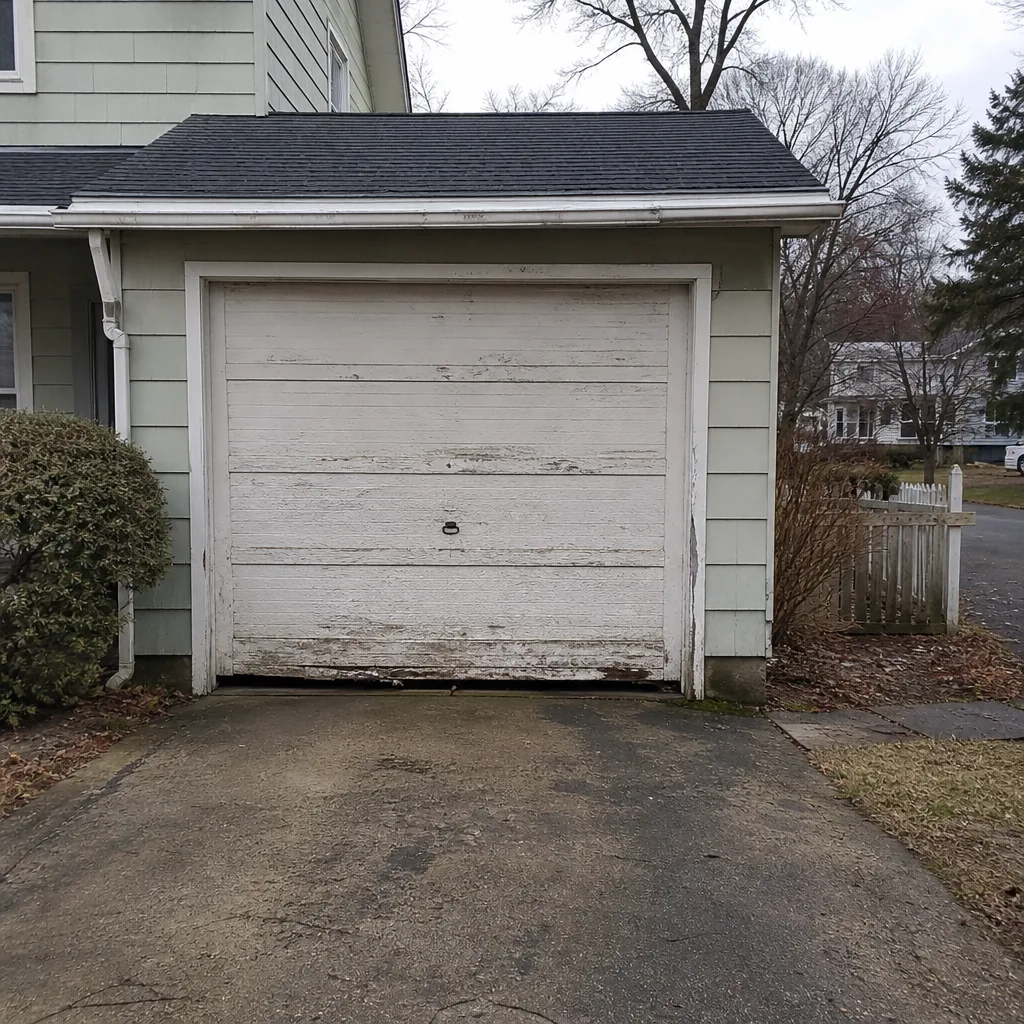 Before
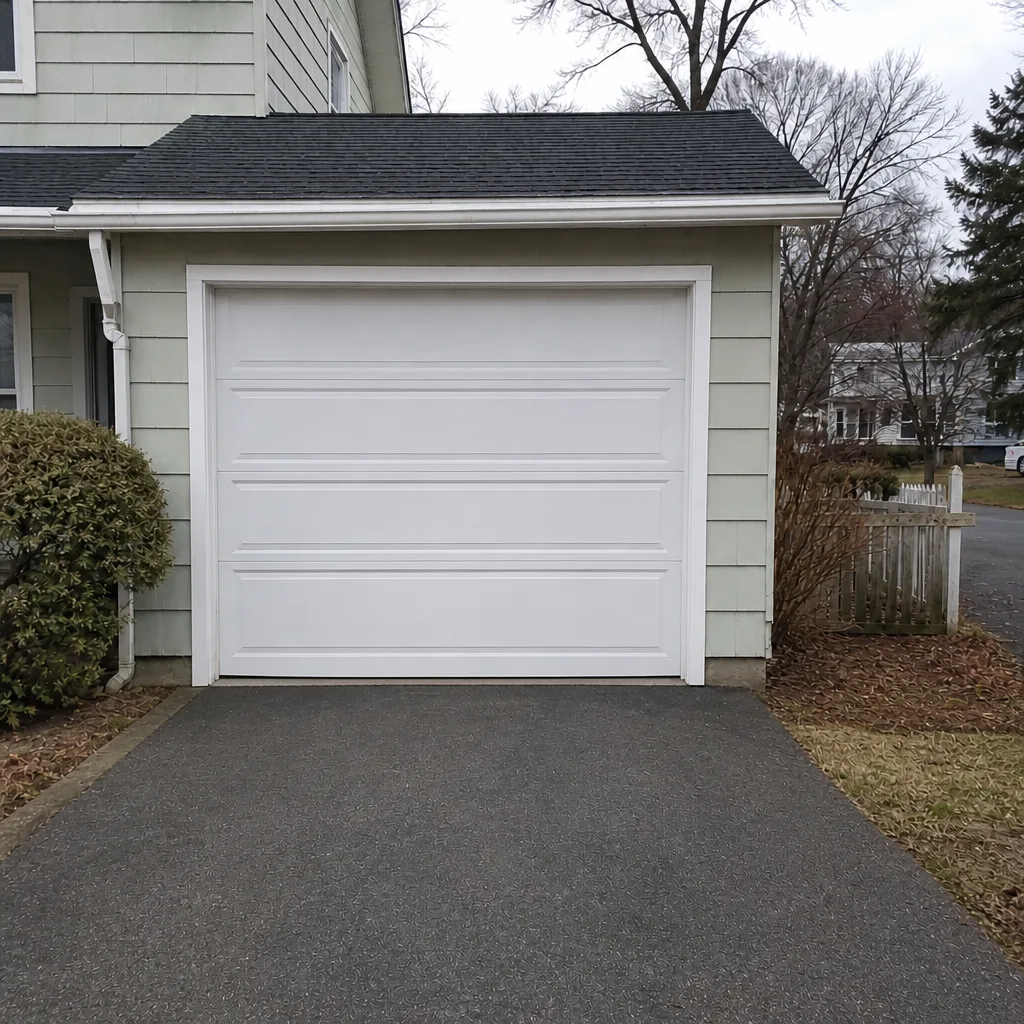 After
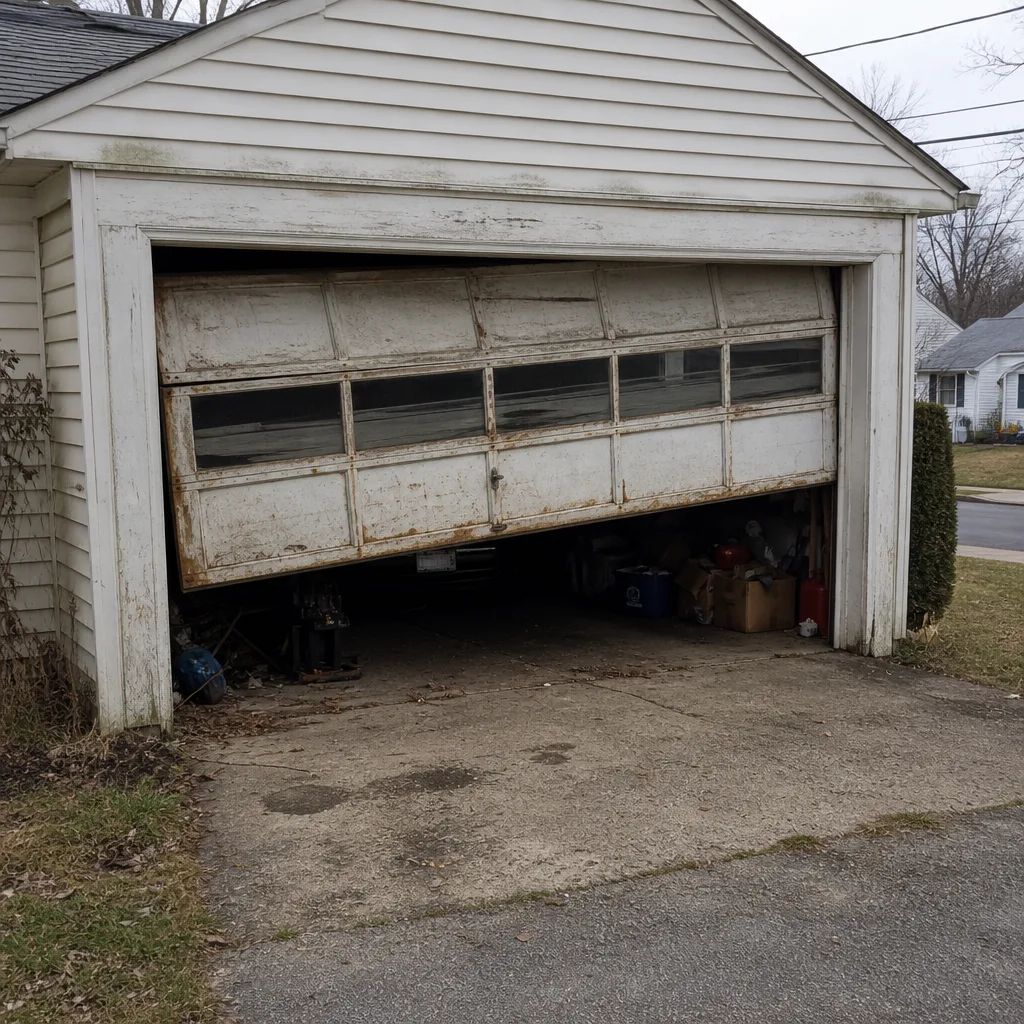 Before
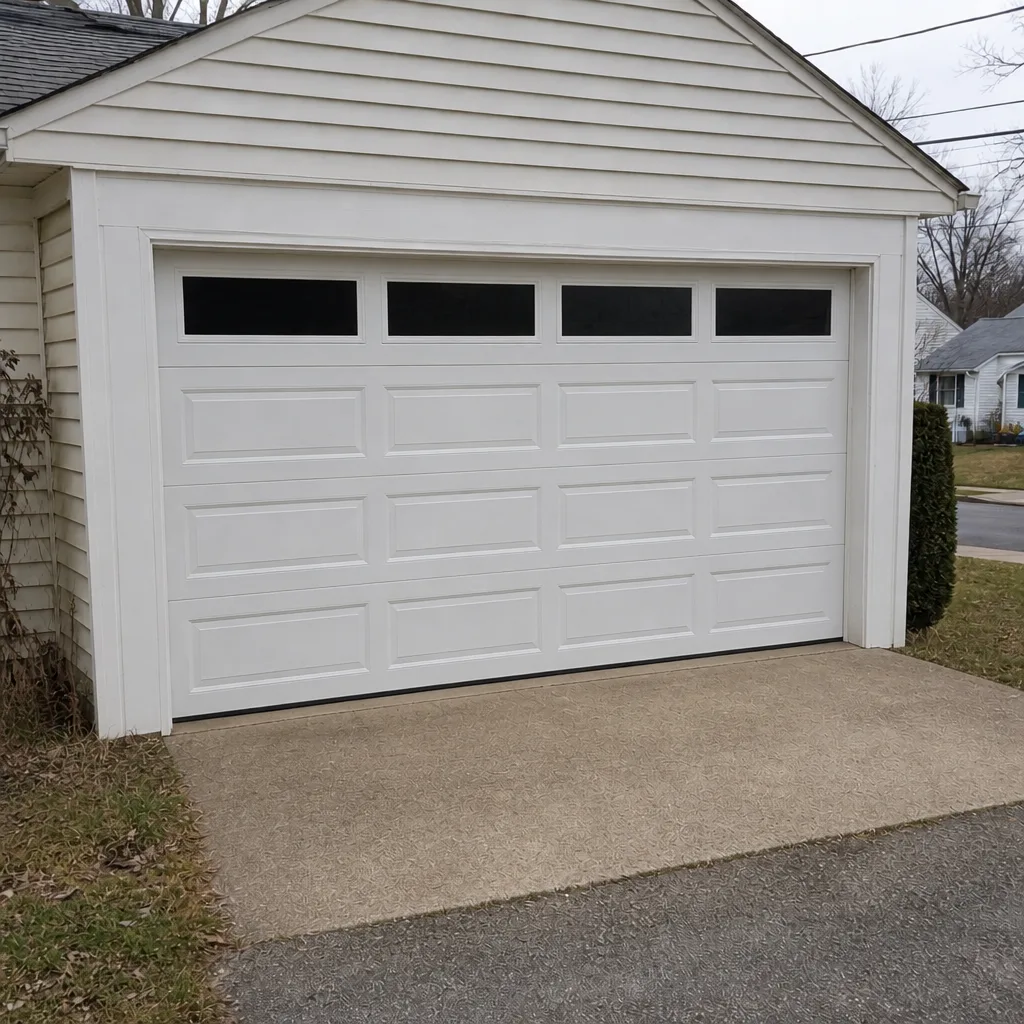 After
When to Call a Professional
Call a professional the moment any diagnosis lands on a torsion spring, a cable under tension, a door that’s off its track, or anything that requires opening the opener’s housing. Call immediately if the door is stuck open in a Norwalk heat wave or cold snap, since a door hanging open is easier to force and lets the weather work on the hardware. Call if a door reverses on its own unpredictably – a safety reverse that fires without a real obstruction is a sign the force or travel settings are wrong. And call if you’ve replaced a battery, cleaned your sensors, and the door still won’t behave, because at that point you’re guessing. Norwalk Garage Door Repair Pros offers free estimates in Norwalk – call (855) 337-1321. Our technicians have up to 13 years of experience, work on your brand, and quote the price before any work starts, so the number on the estimate is the number on the invoice. Emergency garage door service is available for the high-stress situations where your car is trapped or your garage won’t secure.
Frequently Asked Questions
Almost never. A door that reverses before contacting the ground is usually the opener’s limit switch set to think the door is already closed, or a down-travel setting that’s too short. Check that both sensor LEDs are steady, then look at the limit setting – if you’ve tightened the sensors and the door still reverses early, it’s the travel limit, not the eyes. Call (855) 337-1321 for a quick diagnostic if the settings aren’t obvious.
Look at the coil above the door for a visible gap where the spring has separated, and lift the door by hand with the opener released – if it feels extremely heavy, the spring has failed. A broken spring shows a clean two-to-four-inch gap and the door won’t hold itself up. Don’t touch the winding cone or cycle the opener; call (855) 337-1321 and we’ll handle the spring safely.
Because ten blinks means different things on different brands. On a LiftMaster or Chamberlain, a set number of blinks points to a specific fault like a sensor obstruction or a travel-limit problem; on a Genie, the same blink count can map to something else entirely. Read the code against your exact model’s label, or call (855) 337-1321 and we’ll decode it the first time.
You can safely do the light maintenance: lubricating hinges and rollers, cleaning the safety eyes, changing remote batteries, and snugging a loose track bolt. Anything involving the spring, a cable, a door off its track, or the inside of the opener is a stop-here job and belongs with a trained technician. When in doubt, call (855) 337-1321 for a free estimate.
Because the humidity and repeated freeze-thaw swings here work moisture into the cable strands and flex the hardware, so strands separate at the drum faster than in a dry, steady climate. That’s why we check cables any time we’re out for another repair. If you spot a frayed cable, don’t run the door – call (855) 337-1321.
No – the written estimate is what you pay. We quote the price and agree it before any work starts, and the written estimate sets the final number. If the diagnosis changes once we’re there, we’ll tell you before proceeding, not after. Call (855) 337-1321 for a free estimate.
The Bottom Line
The trick to garage door troubleshooting isn’t a longer checklist – it’s the right order. Sort the problem into mechanical, electrical, or structural first, and the failed component announces itself. Confirm a broken spring visually before you touch anything. Read opener blink codes against your actual brand, not a generic chart. Respect the Norwalk-specific wear on cables and rollers from humidity and freeze-thaw, and treat anything involving a spring, cable, or track as a professional job. If you’ve hit a stop-here marker, don’t push through it. Call Norwalk Garage Door Repair Pros at (855) 337-1321 for a free estimate – spring, opener, panel, or full door, we handle it all, we work on your brand, and price is agreed before work starts. Back up and running today starts with one call.
Written by the team at Norwalk Garage Door Repair Pros.