Last updated November 21, 2026
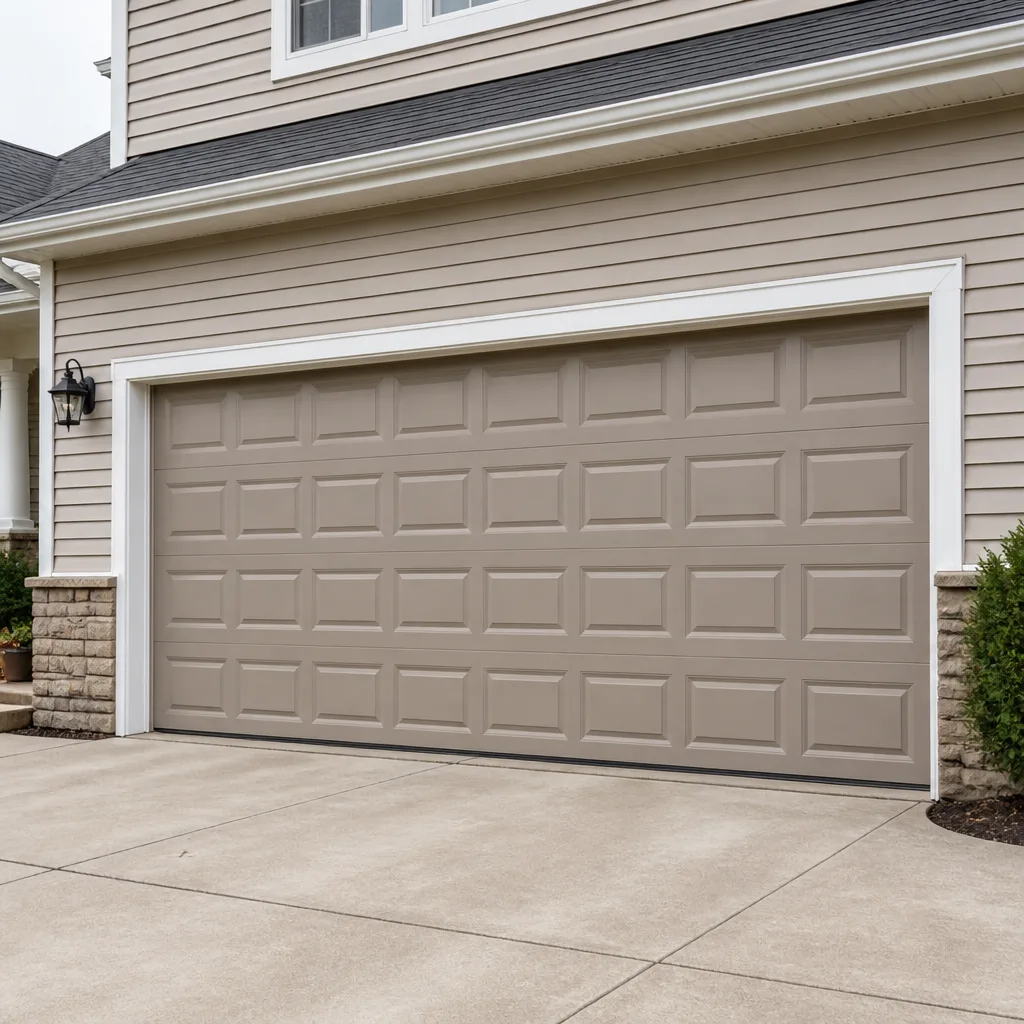 Raised-panel steel
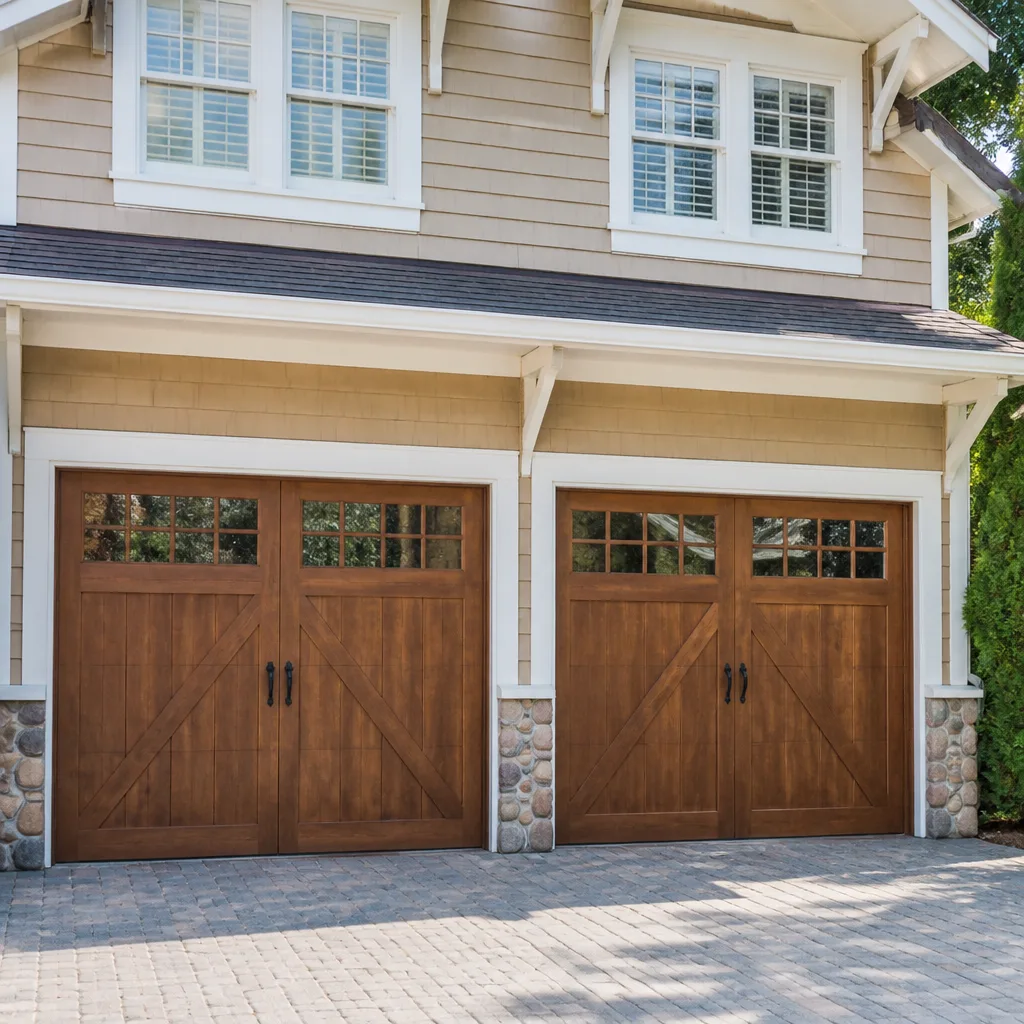 Carriage house
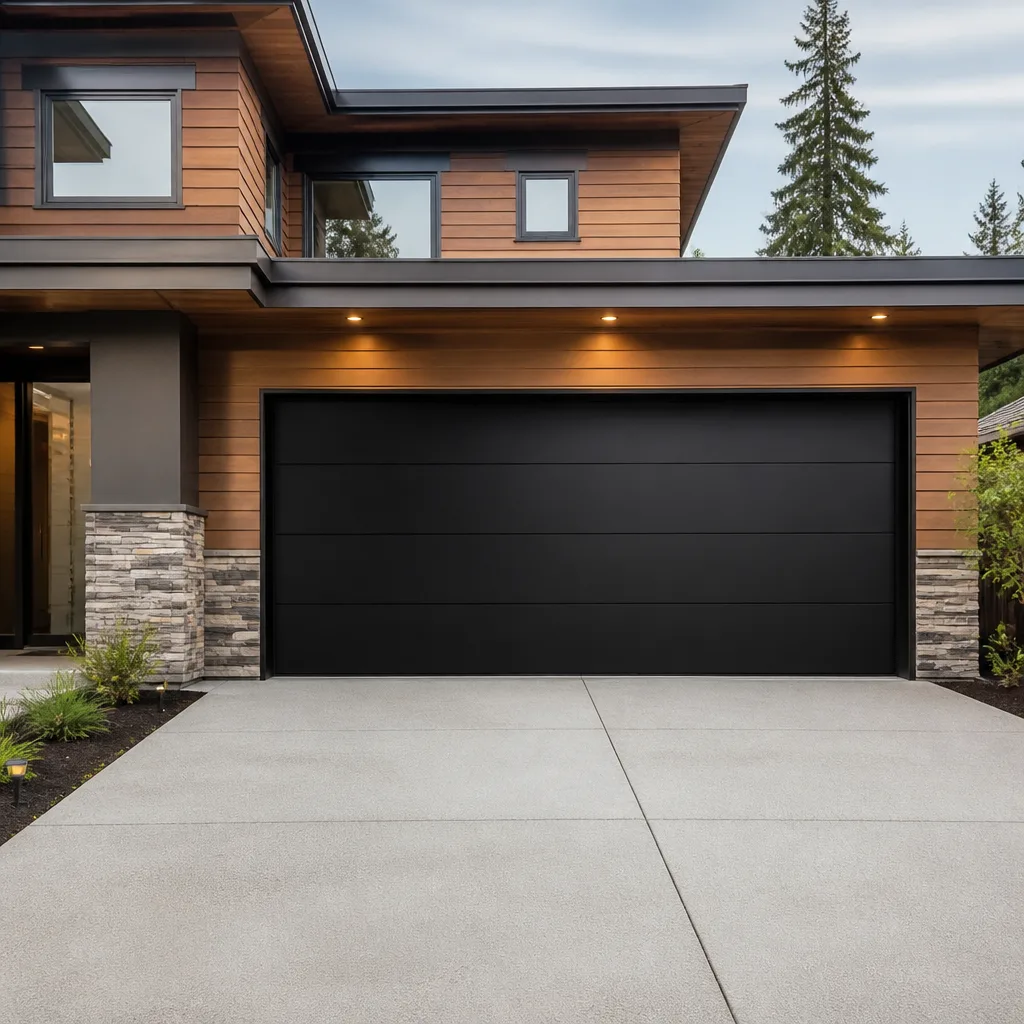 Modern flush
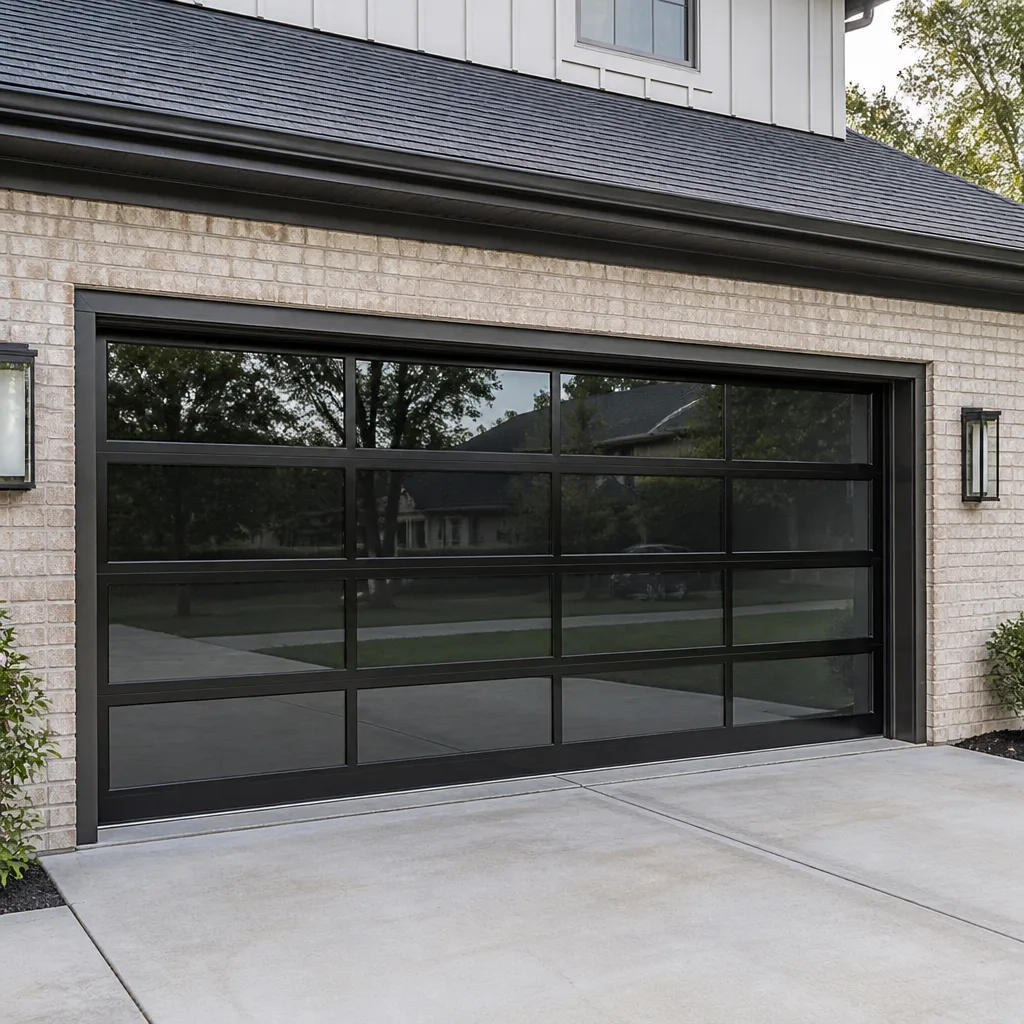 Full-view glass
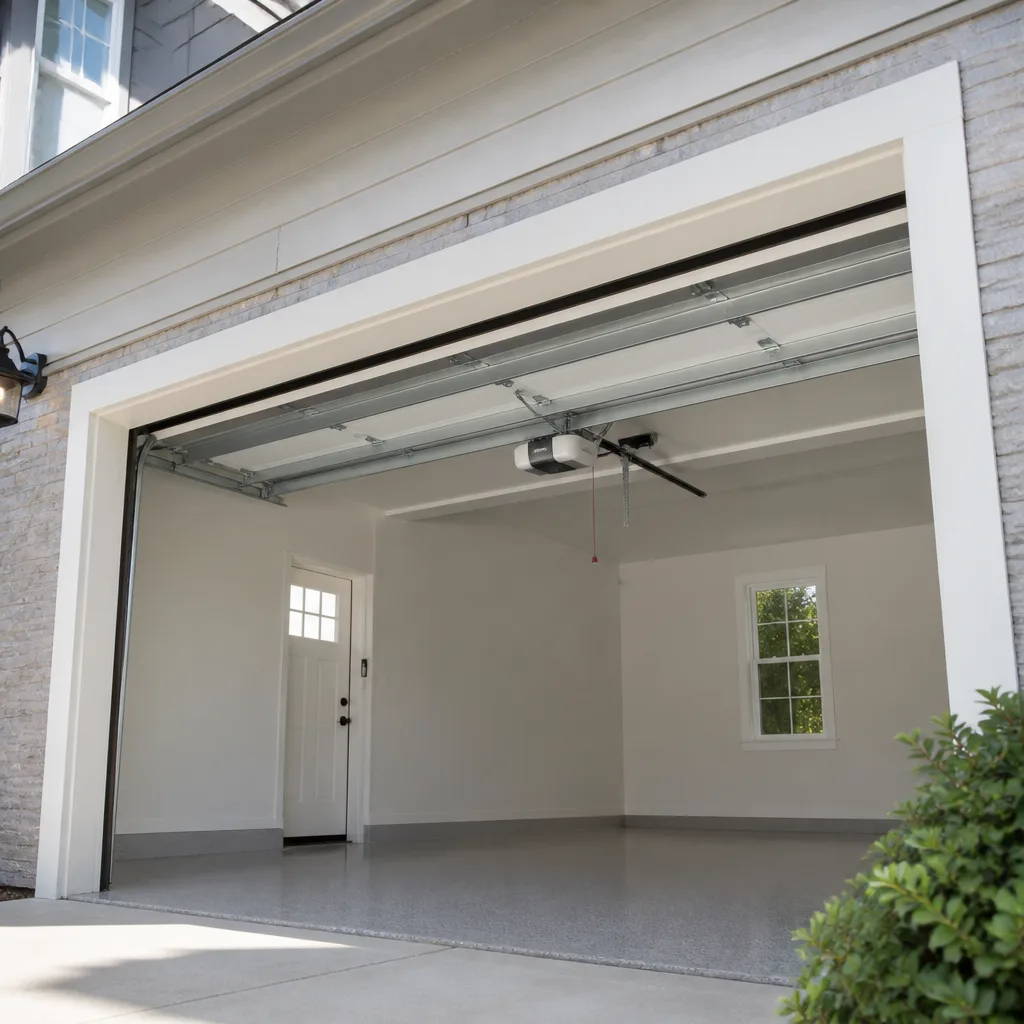 LiftMaster openers
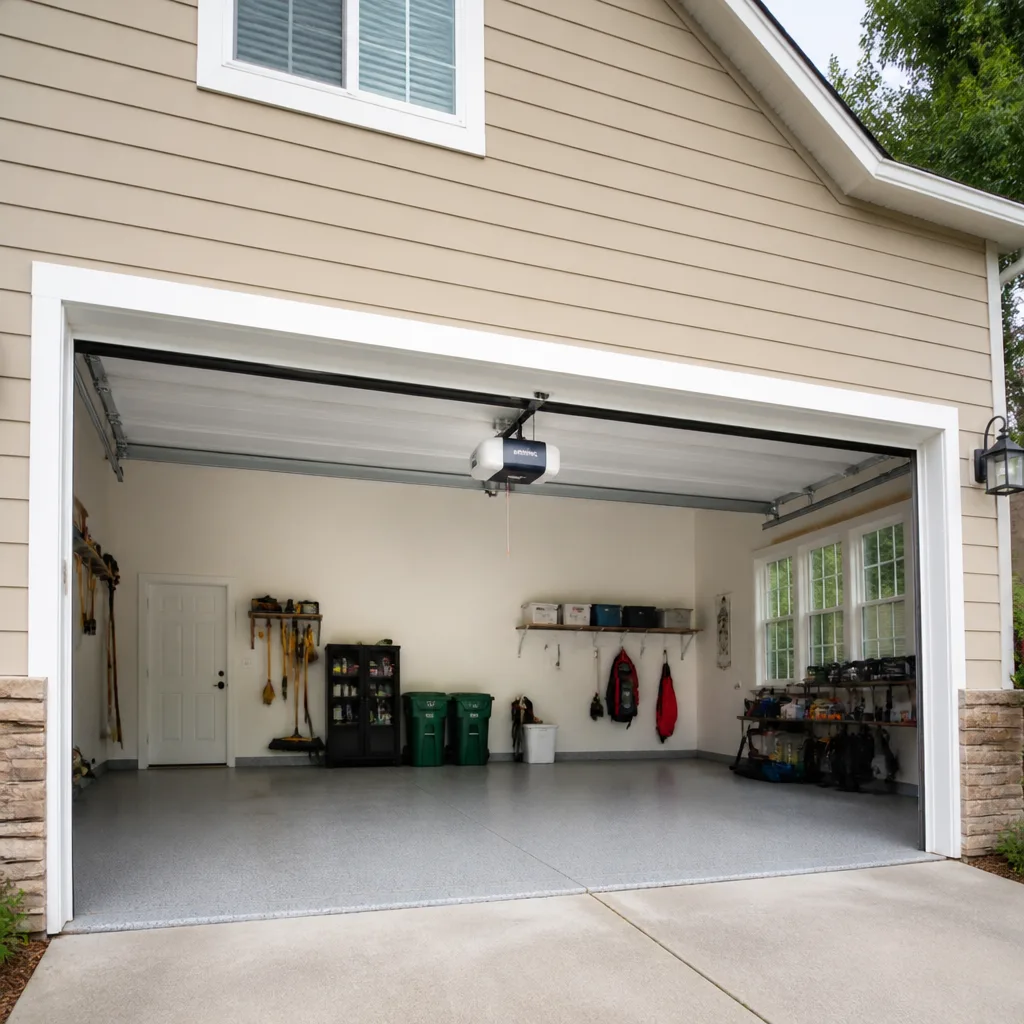 Chamberlain openers
Full 25-point door and opener safety check with every visit - springs, cables, rollers, tracks, and your LiftMaster or Chamberlain opener included
You get a price before we start. It does not change when the pro arrives.
Get your free estimateDIY vs Professional Garage Door: The Norwalk Homeowner’s Decision Guide
Most garage door advice treats the DIY question as a matter of confidence. It isn’t. It’s a matter of risk calibration, and the right answer changes completely depending on which part of the door you’re touching. Weatherstripping and sensor alignment are genuinely homeowner territory. A torsion spring under tension is not, no matter how many tutorial views it has. This guide breaks garage door work into task-by-task categories so you can decide with real information instead of bravado. We’ll cover the tools spring work actually requires, the true cost comparison for the five most common Norwalk repairs, what voids manufacturer warranties, and where a phone call makes more sense than a wrench.
Styles & brands we work with
- Raised-panel steel
- Carriage house
- Modern flush
- Full-view glass
- LiftMaster openers
- Chamberlain openers
Quick Answer
Safe DIY garage door tasks are limited to weatherstripping, sensor alignment and cleaning, lubrication, and opener remote or keypad programming. Everything that holds the door’s weight – springs, cables, bottom brackets, and torsion hardware – belongs to a trained technician because those parts store enough energy to cause serious injury. For anything in that second category, professional repair is usually cheaper than the real total cost of a DIY attempt once you count tools, parts, and downtime.
Table of Contents
- The Task-by-Task Risk Matrix
- What Safe Spring Work Actually Requires
- Genuinely Safe DIY Tasks (and How to Do Them)
- Opener Programming and Sensors: The Low-Risk Category
- DIY vs Professional: Cost Comparison for the Five Most Common Norwalk Repairs
- What Voids Your Manufacturer Warranty
- Common Mistakes to Avoid
- When to Call a Professional
- Frequently Asked Questions
The Task-by-Task Risk Matrix
A garage door is a balance system. The springs – torsion or extension – carry the door’s weight so a person can lift it by hand. When those springs are wound, they hold stored mechanical energy, and every other component in the system is built around that fact. Sort jobs by which side of the spring they sit on and the DIY question answers itself.
Green: Safe for a Homeowner
- Replacing bottom weatherstripping and side seals
- Aligning or cleaning photo-eye safety sensors
- Lubricating hinges, rollers, tracks, and the spring coil (with the door closed for torsion)
- Programming a new remote or keypad
- Tightening the bolts on the door’s hinge plates
- Cleaning and painting the door panels
Yellow: Doable With Care, But Understand the Risk
- Replacing a roller on the bottom bracket side (the bracket itself stays untouched)
- Adjusting opener travel limits and force settings
- Replacing a garage door opener’s light bulbs or battery backup
- Replacing the opener’s drive belt or chain tension (on some models, this is more involved than it looks)
Red: Not Homeowner Work
- Torsion spring replacement or adjustment
- Extension spring replacement
- Cable replacement, tightening, or re-spooling
- Bottom bracket removal (it lives under cable tension)
- Center bearing plate or torsion tube work
- Track straightening after impact
In our experience across Norwalk, the green jobs are the ones homeowners reliably finish themselves and the red jobs are the ones that end in an urgent call. That’s not a knock on anyone’s ability – it’s what the physics of a counterweight system does when a component lets go.
What Safe Spring Work Actually Requires
“I have basic tools” is not a qualifier for spring work. The standard homeowner kit – a screwdriver set, a hammer, a cordless drill, an adjustable wrench, and a pair of pliers – covers every green task on the list. It covers none of the red ones.
Safe torsion spring work requires, at minimum:
- Winding bars sized to your spring’s inside diameter – typically two, sold as a matched pair; using a screwdriver or a random steel rod is how people lose fingers
- A steady ladder positioned so both hands stay on the bars
- Knowledge of your door’s exact spring wind count and wire gauge – a mis-matched spring re-wound on the wrong count leaves the door dangerously out of balance
- The right replacement spring rated for your door’s weight and cycle life
- A winding chart and the training to read it
Extension springs need a slightly different kit (safety cables, correct gauge springs, tension clamps) but the same principle applies. Without every item on that list, the job shouldn’t start. In our experience as a specialist working on LiftMaster, Chamberlain, Genie, Clopay, Amarr, Wayne Dalton, Craftsman, and Raynor systems, the spring is the part of a garage door where trial-and-error costs the most.
There’s also the injury math. A torsion spring under load can release its stored energy in a fraction of a second. Professional technicians wear the right gloves, use the correct bars, and know when to step back. Nobody should be learning that skill on their own door. For spring-related work specifically, garage door spring repair is the job where calling a pro is the fastest path to a working door.
Genuinely Safe DIY Tasks (and How to Do Them)
The safe list is bigger than most guides admit. If you want to handle a job yourself in Norwalk, these are the ones worth taking on:
- Weatherstripping. The rubber flap at the bottom of the door and the seals along the sides and top. Peel the old seal out of its track with a flathead, slide the new one in, trim to length. Fifteen to forty-five minutes depending on how stuck the old one is.
- Photo-eye sensors. The two small lenses at the bottom of the tracks. Wipe them, check that the LED on each is solid (not blinking), and nudge them back into alignment with a screwdriver if they’ve been bumped. Five minutes.
- Lubrication. Use a garage-door-specific lubricant on hinges, rollers, and the torsion spring. Ten minutes, twice a year. Quieter door, longer component life.
- Hardware tightening. The bracket bolts that hold the hinges to the door panels work loose over time. A socket wrench and ten minutes quiets a rattling door noticeably.
- Opener remote and keypad programming. Covered in the next section.
Norwalk’s seasonal swings – humid summers, freezing winters, and the freeze-thaw cycles in between – make the weatherstripping and lubrication items more important than they’d be in a milder climate. Cold weather stiffens door seals and thickens old lubricant; heat softens and stretches rubber. A twice-a-year pass keeps the door quiet and saves the rollers.
Doing these jobs also makes you a better judge of when the door needs more than a tune-up. A door that hums after lubrication, shifts on one side, or loses alignment with the tracks is telling you something mechanical is failing. For those calls, garage door repair is the right move.
Opener Programming and Sensors: The Low-Risk Category
Most DIY guides lump “opener work” into one bucket with springs and cables. That’s wrong. The opener’s control section – remotes, keypads, Wi-Fi pairing, sensor alignment – is electrical low-voltage logic, not stored mechanical energy. A homeowner replacing a dead remote is at no more risk of injury than someone configuring a garage door on a smart-home app.
The genuine low-risk opener tasks:
- Programming a new remote or keypad
- Clearing old remotes out of memory (important if you move in or lose a remote)
- Pairing the opener to Wi-Fi or a smart-home app
- Adjusting open and close travel limits through the opener’s control panel
- Replacing a burned-out light bulb or the backup battery
- Aligning the safety sensors
The line sits at the mechanical layer. Replacing a drive belt or chain, swapping a stripped gear, or replacing the logic board on a 15-year-old unit is a different job – the opener housing has to come apart, its spring-loaded components have to be handled carefully, and the reassembly has to be precise. A LiftMaster or Chamberlain unit with a worn gear can look like a ten-minute swap and turn into an afternoon of reassembly if you don’t know the model.
Norwalk homes tend to skew toward older openers in established neighborhoods and newer smart openers in renovated homes. Both categories have simple programming steps and both have a repair boundary that a homeowner shouldn’t cross without experience. If the door moves but the opener misbehaves, or if the opener runs but the door doesn’t move, garage door opener repair is where a trained eye saves real time.
DIY vs Professional: Cost Comparison for the Five Most Common Norwalk Repairs
The honest cost comparison isn’t just “parts vs labor.” It’s parts cost plus tools cost (many homeowners don’t own winding bars, safety cables, or the right gauge springs) plus your time plus the risk of a second attempt at the same job. Here’s how the math shakes out for the five repairs we see most in Norwalk. All professional figures below are typical estimates; the written quote sets the final price.
1. Torsion Spring Replacement (one spring)
- DIY parts: Spring, safety guidance, and winding bars run in the low hundreds
- Professional estimate: $180 – $340 per spring
- Realistic DIY time: 2-4 hours if everything goes right, plus a second trip to the parts store when it doesn’t
- Risk verdict: Not a DIY job
Matched springs are usually replaced together because a new spring next to an old one wears unevenly. A pair costs about twice the single-spring range.
2. Bottom Weatherstripping Replacement
- DIY parts: $25-$60 for the seal and hardware
- Professional estimate: $130-$220
- Realistic DIY time: 30-60 minutes
- Risk verdict: Safe DIY
3. Safety Sensor Alignment or Replacement
- DIY parts: Free for alignment; $25-$60 for a replacement sensor pair
- Professional estimate: $90-$180
- Realistic DIY time: 5-20 minutes
- Risk verdict: Safe DIY
4. Bent Track or Off-Track Door
- DIY parts: Replacement track section $60-$140, but the door must be supported safely first
- Professional estimate: $180-$340
- Realistic DIY time: 2-3 hours with moderate injury risk from a door that could drop
- Risk verdict: Professional
5. Opener Motor or Drive Gear Failure
- DIY parts: $80-$200 for a gear kit; a whole new opener runs $200-$400 plus installation
- Professional estimate: $220-$450 for a typical opener repair
- Realistic DIY time: 1-3 hours and a real chance of further damage if the model isn’t familiar
- Risk verdict: Professional
Two more considerations that never make it into the parts-cost column. Most of these jobs assume the homeowner already owns the tools – winding bars alone cost more than you’d expect. And a DIY job that fails the first time usually means paying the professional price anyway, plus the parts you already bought. If you’d like an actual number on your specific door, Norwalk Garage Door Repair Pros provides free estimates and quotes the price before any work starts.
What Voids Your Manufacturer Warranty
Manufacturer warranties vary by brand and by exact model, and we always recommend reading the paperwork that came with your door or opener. That said, some patterns are consistent across the major brands most Norwalk homes have installed.
On the opener side, the warranty typically covers the motor, the logic board, and sometimes the drive system for a set number of years. What usually nullifies it:
- Modifying or bypassing the opener’s force-limits to compensate for a failing door
- Installing a replacement part that isn’t the brand’s specified part (a LiftMaster logic board replaced with a third-party board, for example)
- Doing electrical work that isn’t code-compliant, or moving the opener’s power source
- Replacing the motor before the warranty terms allow it
On the door side, the warranty often covers cladding, finish, panel integrity, and hardware for separate periods. It generally doesn’t cover damage from impact (a vehicle, a lawnmower, a door coming off the track), and it can be voided by structural modifications or by hardware being replaced with off-spec parts. Some Clopay and Amarr warranty terms can be affected by a door being re-hung with non-brand hardware, so if you’re swapping hinges, rollers, or bottom brackets, matching the original part matters.
The pragmatic takeaway: for anything that touches door hardware or the opener’s internals, brand-specific knowledge pays for itself in preserved warranty and correct parts. In our experience working across eight major brands, the most common warranty problem we see isn’t greed or abuse – it’s a homeowner swapping a part that looked identical but wasn’t.
Common Mistakes to Avoid
- Substituting a screwdriver for a winding bar. The screwdriver will bend under spring tension, and when it slips, it does so with the full force of the spring behind it. This is the single most common DIY injury path we hear about.
- Replacing one torsion spring when both are worn. The old spring is already closer to failure than the new one; matched pairs exist because uneven wear is a problem. Doing one and waiting six months means paying for the job twice.
- Increasing the opener’s force setting to fix a dragging door. The opener isn’t the problem – the spring or rollers or tracks are. Forcing the opener to work harder wears the motor out and can void the warranty.
- Lubricating tracks. Tracks should be clean and dry. Lubricant in the tracks attracts grit and can make the rollers slip. Lubricate hinges, rollers, and springs, not the tracks themselves.
- Ignoring the safety sensors. A blinking sensor LED means the door won’t close automatically. Some homeowners disable the sensors to fix this. That’s a serious safety problem, and it’s the wrong fix.
- DIY-ing a door that’s already off its track. A door that has jumped the track is being supported by less than the designed counterweight. Working on it without proper supports is how the door lands.
- Buying a “universal” spring. Torsion springs are rated by wire gauge, inside diameter, and length. A universal fit is not a fit – getting the rating wrong leaves the door unbalanced or, in the worst case, inoperative.
When to Call a Professional
Call for anything on the red list, and call for any situation where the door won’t close safely, the opener runs without moving the door, or the door has come off its track. Call if you hear a snap from overhead followed by the door suddenly feeling heavy – that’s a broken spring, and the door shouldn’t be operated again until it’s repaired. Call if your warranty still covers the failing part and you want the replacement done to spec. Call if you’ve already tried a DIY fix and the door still isn’t behaving. Norwalk Garage Door Repair Pros offers free estimates in Norwalk – call (855) 337-1321. We work on LiftMaster, Chamberlain, Genie, Clopay, Amarr, Wayne Dalton, Craftsman, and Raynor systems, and we offer emergency garage door service for the doors that fail at the worst moment. The price is quoted and agreed before any work starts.
Frequently Asked Questions
No, spring replacement isn’t a safe DIY job. Torsion and extension springs hold stored energy that can release in a fraction of a second, and the injury potential is real – this is the component that professionals treat with the most caution. What you can safely do is lubricate the spring, inspect for visible gaps or stretching, and know the warning signs of a spring about to fail. When the spring actually breaks, call (855) 337-1321 for a same-day estimate.
Torsion spring repair in Norwalk typically runs $180 – $340 per spring, with matched pairs costing about twice that range. The written estimate confirms the exact price based on your door’s weight, spring type, and cycle life, and it’s agreed before any work starts. Call (855) 337-1321 for an exact quote – estimates are free.
It can be, depending on what you do and what your warranty terms say. Replacing a remote, keypad, or Wi-Fi module doesn’t void the warranty on the motor or logic board, but modifying the opener’s force limits, swapping in a non-brand internal part, or doing unpermitted electrical work usually does. Check your paperwork first, and call us if you’re unsure which part is safe to touch.
Yes, sensor alignment is one of the genuinely safe DIY tasks. Wipe the lenses, check that each LED is solid (not blinking), and nudge the sensor back into place with a screwdriver until the LED is steady. If the LED still blinks after aligning and cleaning, the sensor or the wiring is the problem, and that’s when a professional is worth calling. Reach us at (855) 337-1321 for a same-day estimate.
Yes, same-day service is available in Norwalk for repair work, including emergency garage door service for doors stuck open, stuck closed, or off their tracks. Our technicians have up to 13 years of experience and work on the major brands installed in Norwalk homes. Call (855) 337-1321 and we’ll book the fastest available window.
Torsion springs mount horizontally above the door and twist to counterbalance the door’s weight; extension springs stretch along the sides and pull the door up. Torsion systems are more common in newer installations and are typically longer-lived, but both carry stored energy and both are professional-only repairs. If you’re not sure which type you have, look above the door for a horizontal bar with springs wound around it (torsion) versus springs running alongside the tracks (extension).
The Bottom Line
The DIY vs professional question for a garage door is never a blanket yes or no. It’s a task-by-task decision that follows the physics. Weatherstripping, sensor alignment, lubrication, and opener programming are safe, quick, and often worth doing yourself. Springs, cables, bottom brackets, track repairs, and opener internals are not – the injury potential and the second-attempt cost make the professional price the cheaper one. Keep your warranty paperwork handy, match any replacement part to your door’s brand and model, and don’t force the opener to compensate for a mechanical problem. Everything on the green list you can handle. Everything on the red list is one phone call.
If you’re ready for a real number, a trained technician can take a look and quote the job before anything starts. Call (855) 337-1321 for a free estimate. Norwalk Garage Door Repair Pros works on LiftMaster, Chamberlain, Genie, Clopay, Amarr, Wayne Dalton, Craftsman, and Raynor systems – spring, opener, panel, or full door, we handle it all, and same-day and emergency service is available when a door fails at the worst moment.
Written by the team at Norwalk Garage Door Repair Pros.
See the difference
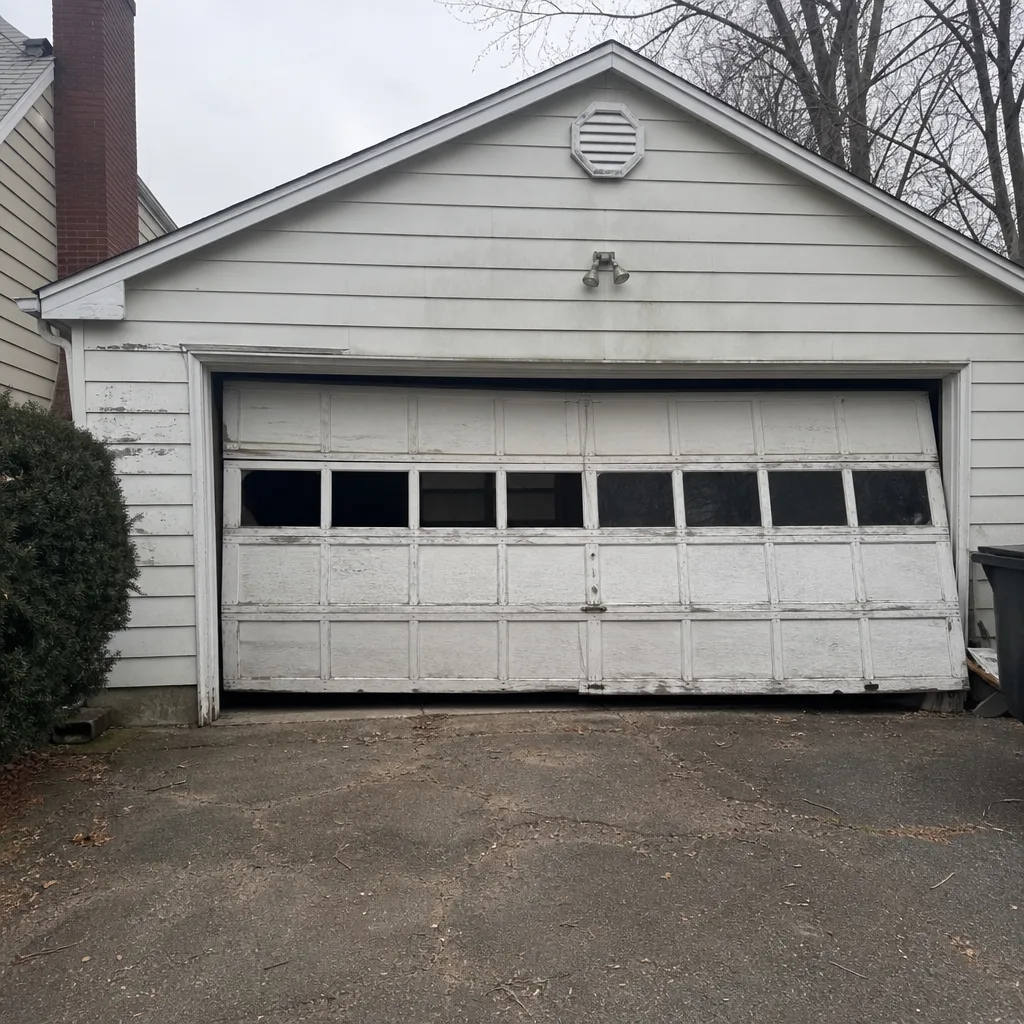 Before
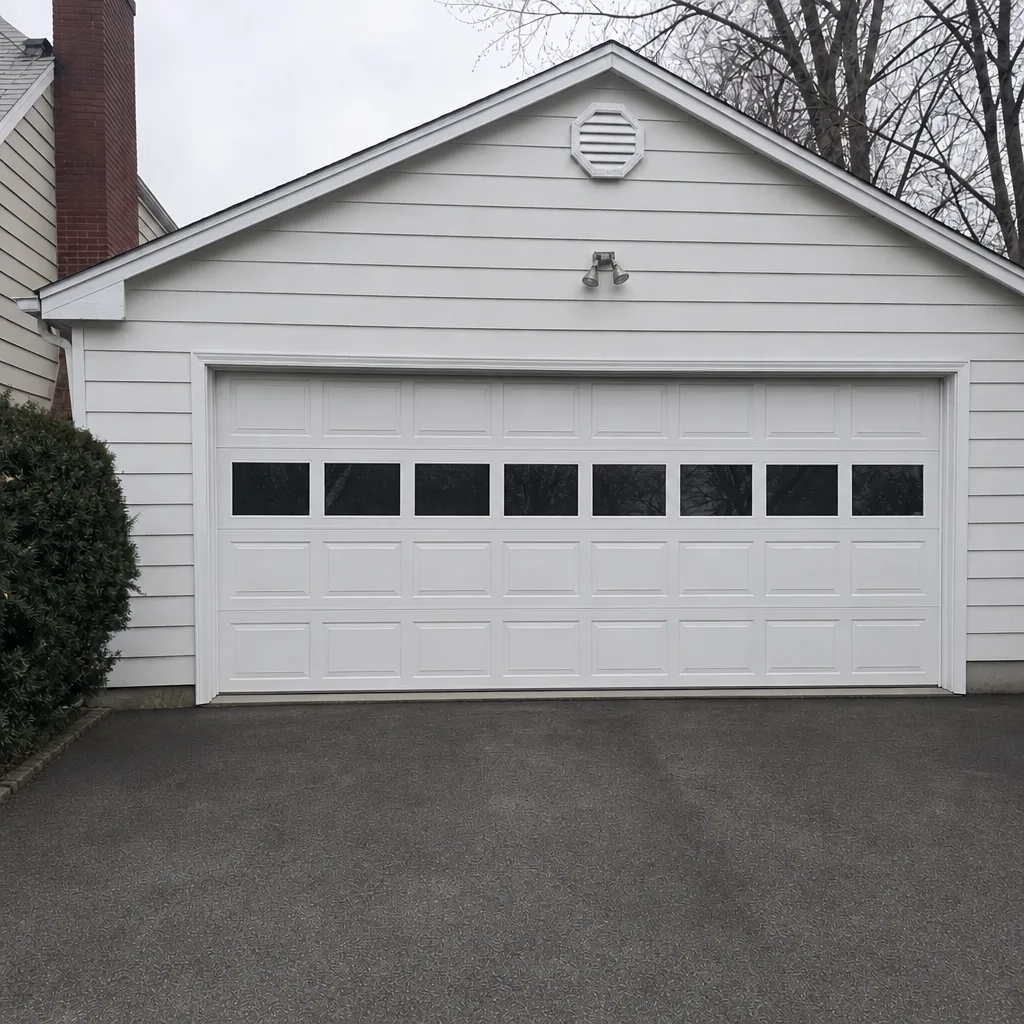 After
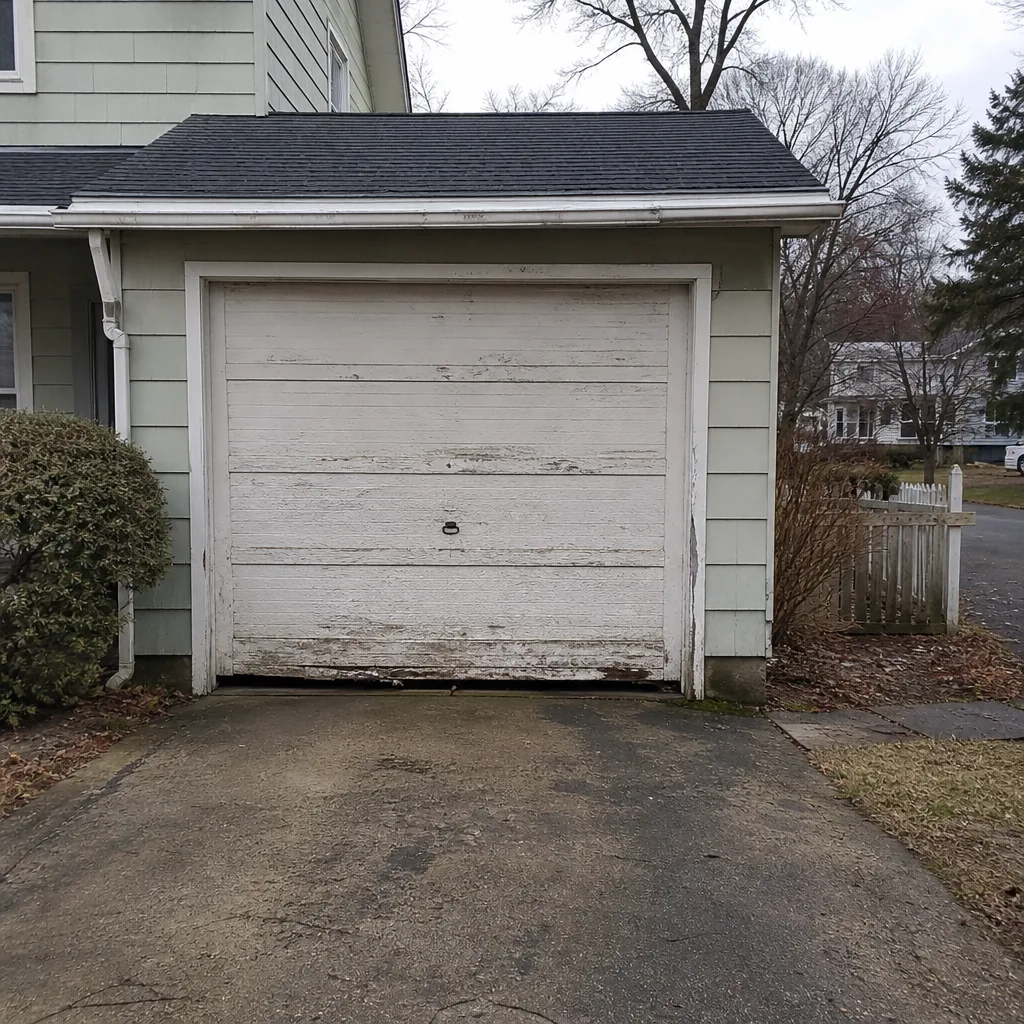 Before
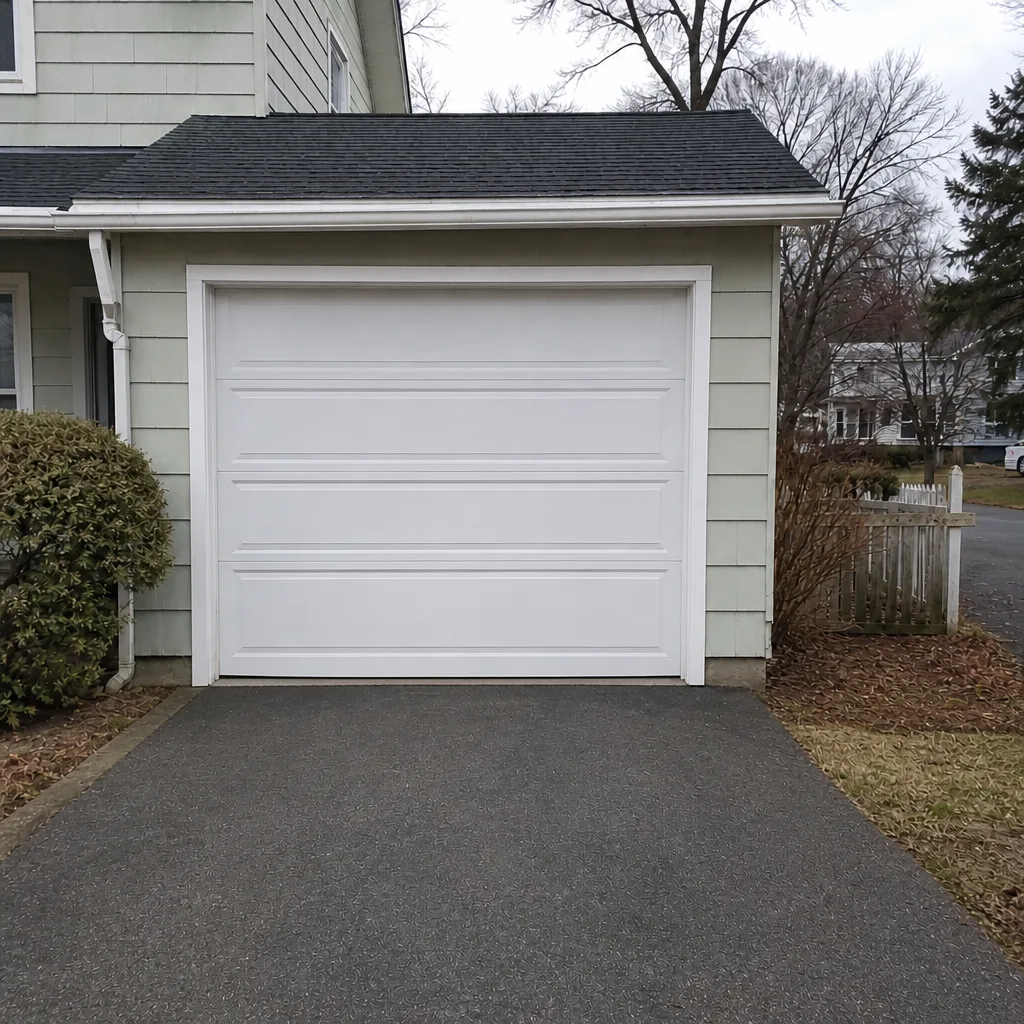 After
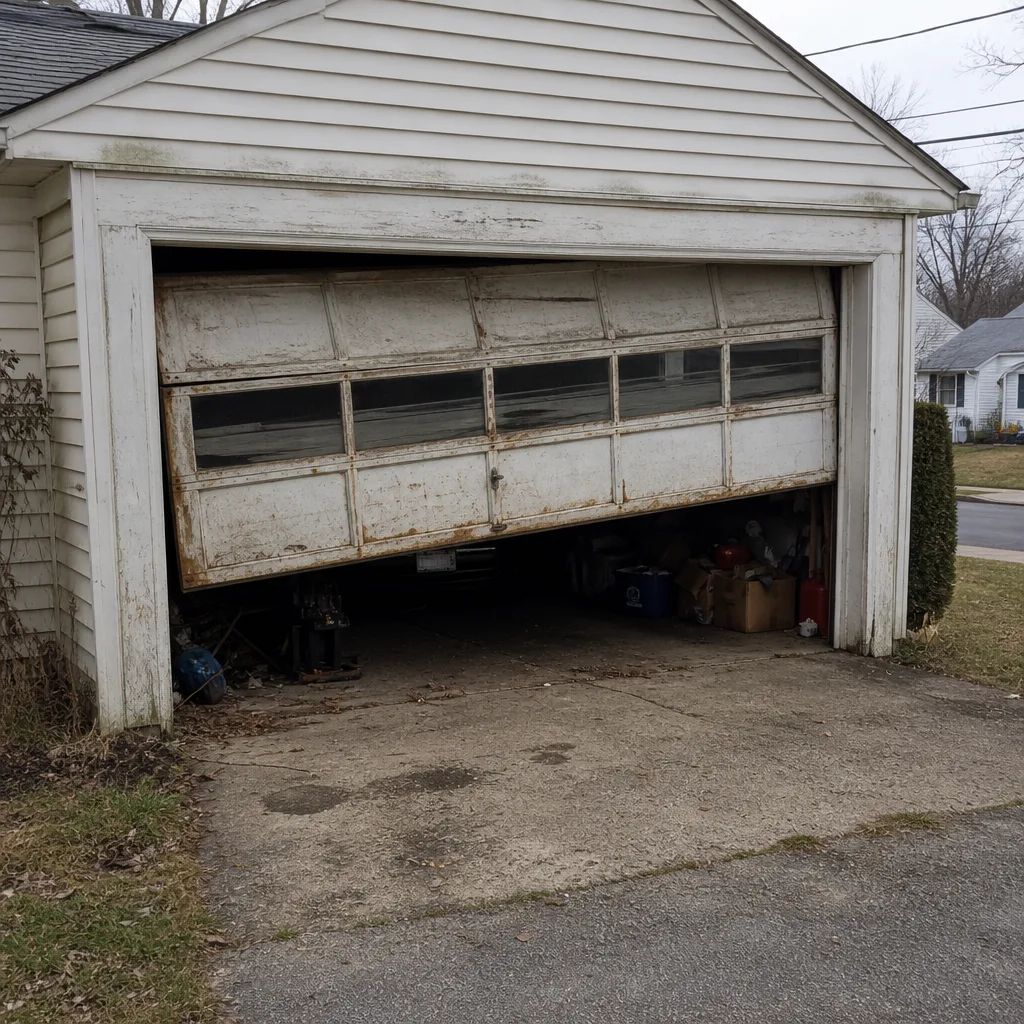 Before
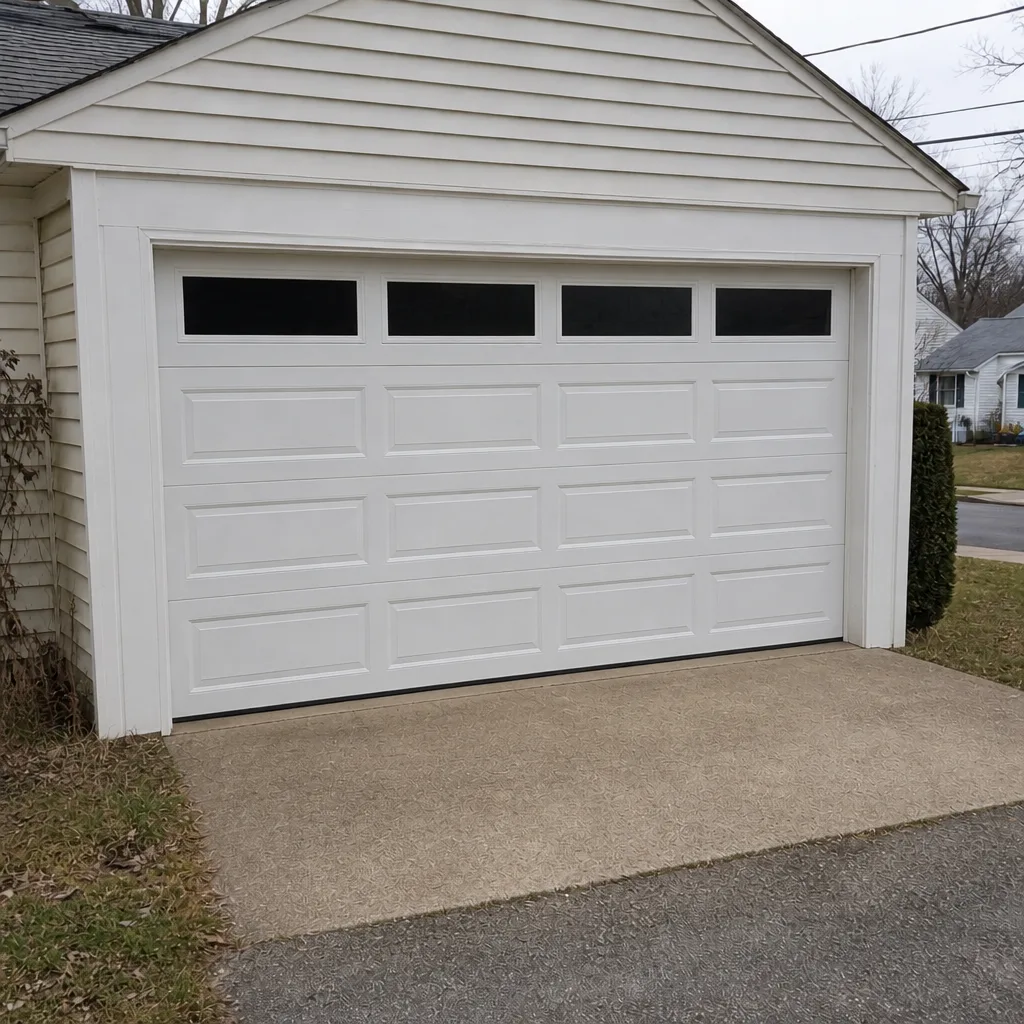 After