Last updated November 21, 2026
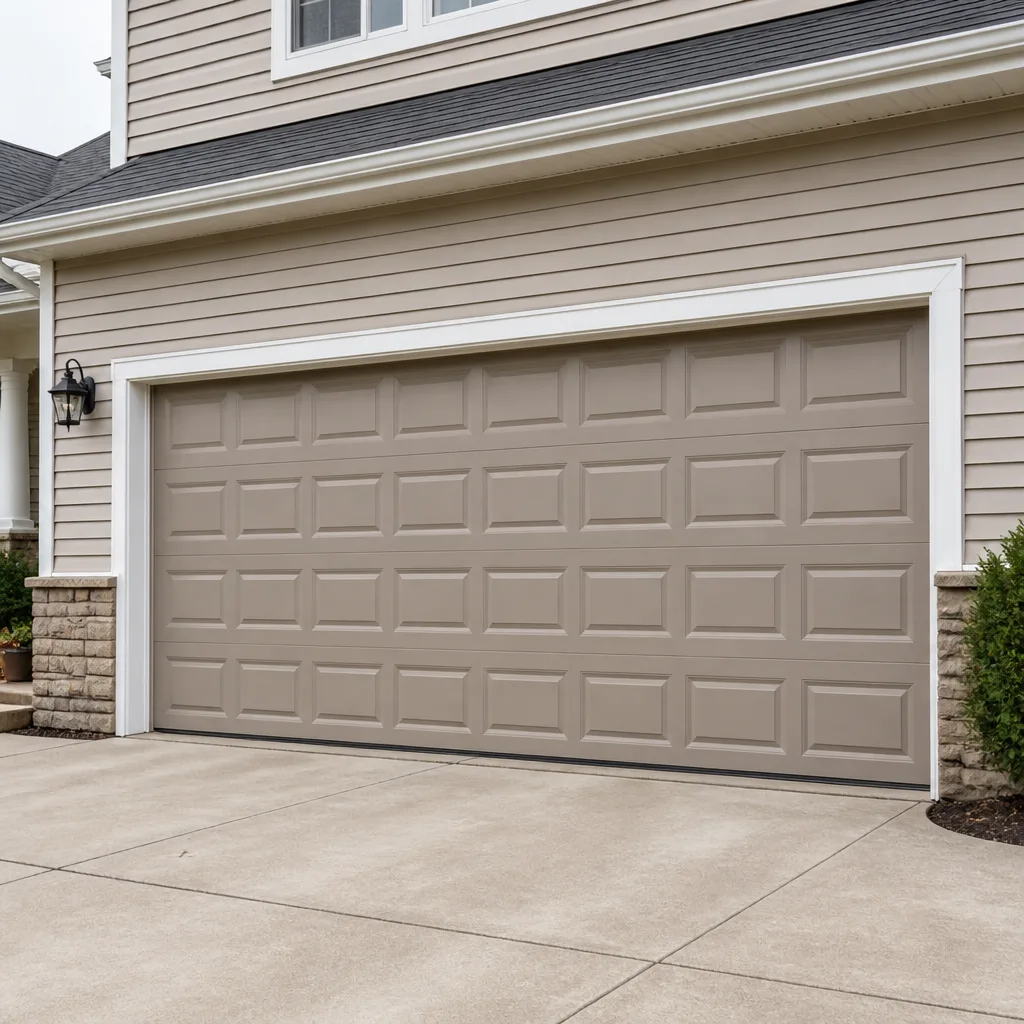 Raised-panel steel
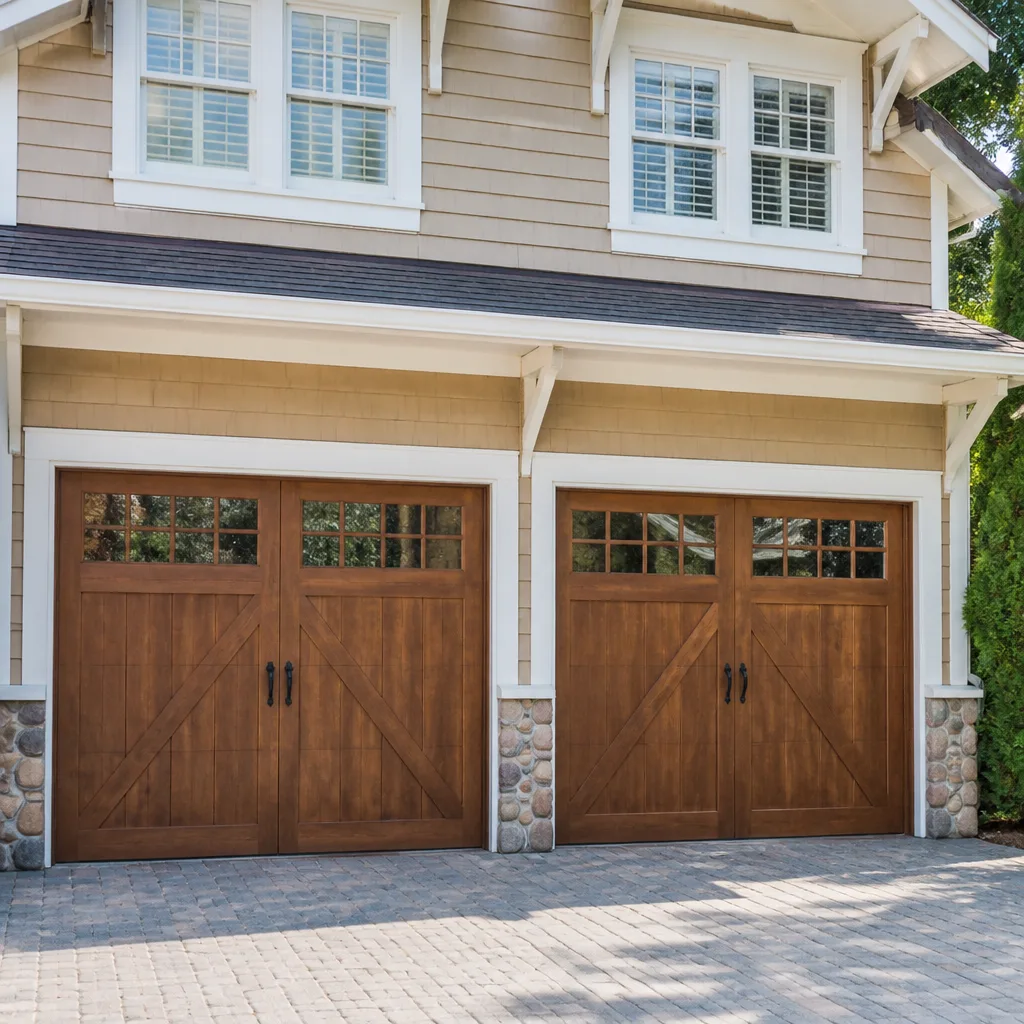 Carriage house
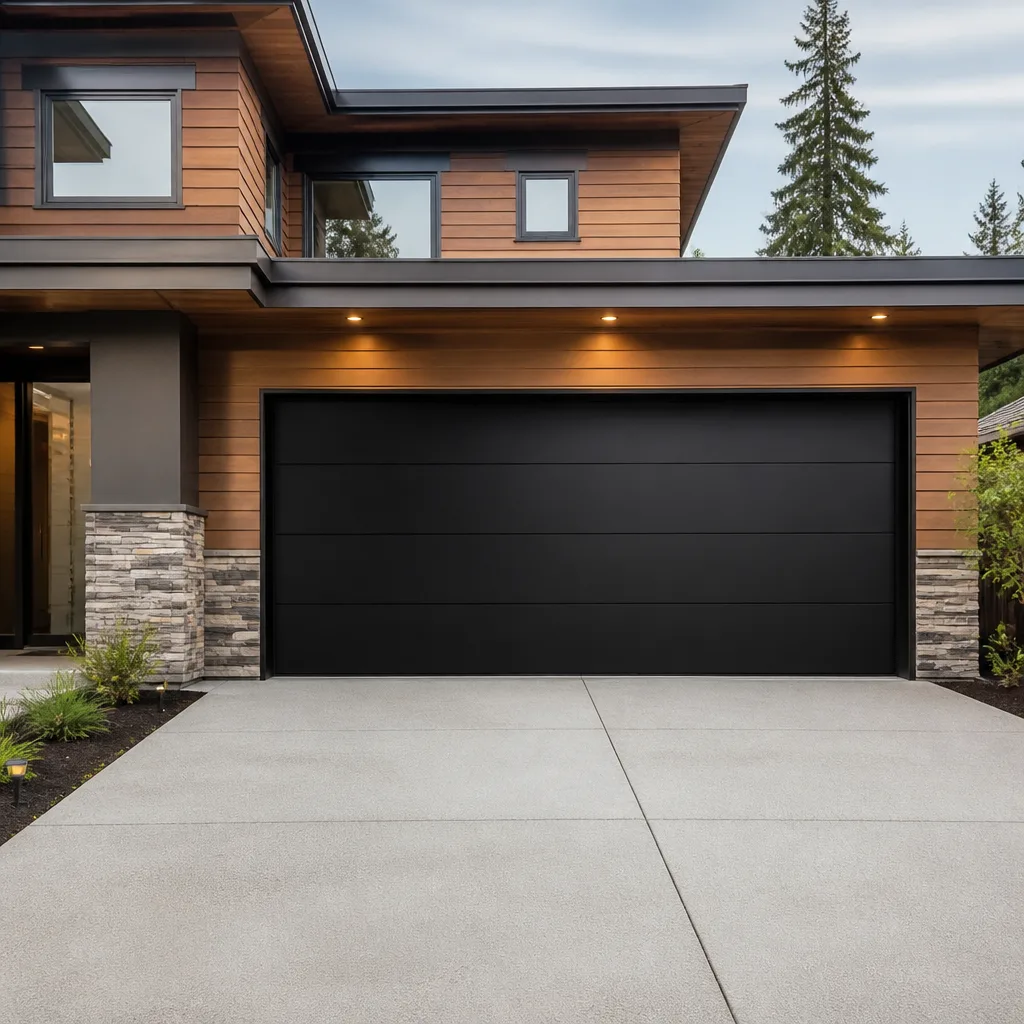 Modern flush
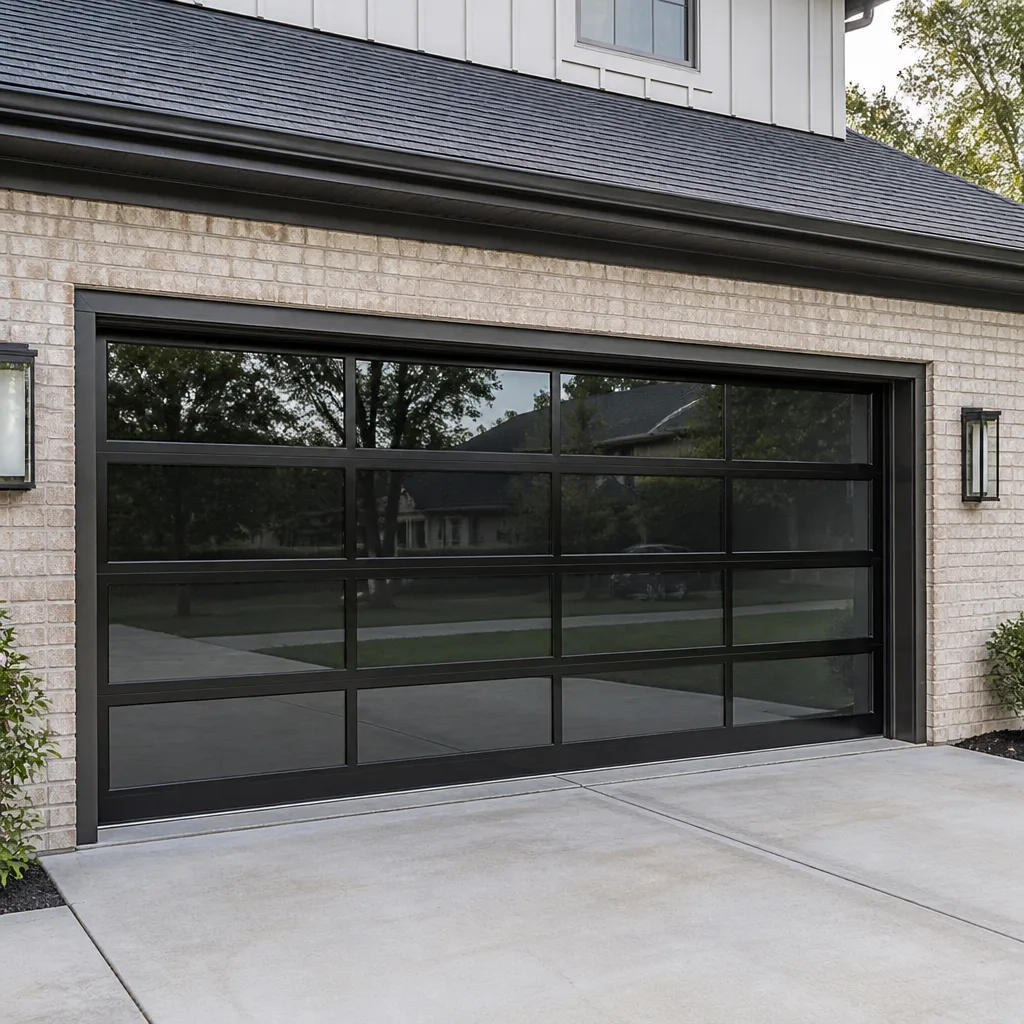 Full-view glass
 LiftMaster openers
 Chamberlain openers
Full 25-point door and opener safety check with every visit - springs, cables, rollers, tracks, and your LiftMaster or Chamberlain opener included
You get a price before we start. It does not change when the pro arrives.
Get your free estimateGarage Door Repair Maintenance Checklist for Norwalk Homeowners
The number-one cause of avoidable garage door failures isn’t age. It’s deferred lubrication and tension drift that compound quietly until one cold January morning snaps a spring. Most homeowners in Norwalk never think about their door until something breaks, and by then they’re calling from the driveway with a car trapped inside. This guide is different from the generic checklists you’ll find online. It tells you exactly which parts to lubricate, with what product, at what interval, and what to actually watch for given the humidity and temperature swings we get here in Norwalk. Read it once, keep it handy, and your door will last longer and cost you less.
Quick Answer
A garage door maintenance checklist for Norwalk homeowners should cover four core areas: lubrication (springs, rollers, hinges, and the opener rail, not the tracks), a balance and tension test, a visual inspection of cables and seals, and a seasonal tune-up timed to Connecticut’s freeze-thaw cycle. Most of the checklist is DIY-safe in under 30 minutes, but spring tension adjustment and cable replacement are not, and they should always go to a trained technician. If anything on your door looks bent, frayed, or feels wrong when you lift it, stop and call a professional.
Styles & brands we work with
- Raised-panel steel
- Carriage house
- Modern flush
- Full-view glass
- LiftMaster openers
- Chamberlain openers
Table of Contents
- The Part-by-Part Lubrication Map
- How to Run a 10-Second Balance Test
- Visual Wear Indicators You Can Spot Without Tools
- Seasonal Adjustments for Connecticut Weather
- DIY-Safe Tasks vs. Tasks That Look Easy but Aren’t
- Opener and Safety-Reverse Check
- Building a Yearly Maintenance Schedule
- Brand-Specific Considerations
The Part-by-Part Lubrication Map
Lubrication is where most checklists get lazy. “Lubricate moving parts” tells you nothing. Here’s the actual map we work from, broken down by part and product.
Springs
Use a dedicated garage door spring lubricant or a silicone-based spray, not WD-40. WD-40 is a solvent, not a lubricant, and it will strip whatever protection is on the spring and leave it dry. A light coat on the coils reduces friction and helps prevent the corrosion that builds up during Norwalk’s humid summers. Apply at every coil, work it into the gaps, and wipe off the excess.
Rollers
Nylon rollers generally need no lubrication and can actually attract grit if you over-lube them. Steel rollers with ball bearings need a few drops of light machine oil at the bearing point. Listen for squealing or grinding as the door moves; that sound is usually coming from a dry roller before it fails.
Hinges
A few drops of oil at each hinge pivot point, once or twice a year. Don’t spray the whole hinge plate, just the moving knuckle. Wipe off any drips before they collect dust and turn into paste.
Tracks
Do not lubricate the tracks. This is the most common mistake we see. Tracks should be clean and dry. Oil on a track collects dirt, which then grinds against your rollers. Wipe them down with a damp cloth, check for bends, and leave them alone.
Opener Rail and Chain
Most belt-drive openers need nothing here. Chain-drive openers want a light application of chain lubricant once a year. Screw-drive openers should stay dry. If you’re not sure what you have, check the model number on the head unit and look it up, whether it’s a LiftMaster, Chamberlain, Genie, or a Craftsman unit that’s been in the garage for years.
What Never Gets Lubricated
- Tracks (as noted above)
- Photo-eye lenses and safety sensors
- The bottom seal or weatherstripping
- Nylon rollers on most modern doors
- Springs with a factory corrosion coating (light touch only)
If your door has sat unlubricated for a long stretch, a proper tune-up from our garage door repair team will get everything back on schedule in one visit.
How to Run a 10-Second Balance Test
This is the single most useful thing you can do as a homeowner. A balance test tells you whether your springs are still doing their job or whether they’ve drifted out of tension and are on the way to failing. Here’s how it works:
- Disconnect the opener by pulling the release cord so the door moves by hand only.
- Lift the door to about waist height, then let go.
- Watch what happens. A properly balanced door stays put. A door that slides down means the springs are losing tension. A door that springs up too fast means they’re over-tensioned.
- Reconnect the opener and note the result.
Do this once a month. If the door doesn’t hold at waist height, the springs need attention. That’s your early warning, and it’s the difference between a routine garage door spring repair visit and an emergency call at 7 AM. In Norwalk, we see the pattern play out every winter: doors that slide down a little in October are the ones with broken springs in January. The balance test catches the problem while it’s still a small adjustment.
A word of caution: the balance test itself is safe. Adjusting the springs yourself is not. High-tension springs store dangerous energy, and a slip can cause serious injury. If your door fails the balance test, that’s the point to schedule a technician.
Visual Wear Indicators You Can Spot Without Tools
You don’t need a toolbox to catch most failing parts. A flashlight and five minutes is enough. Walk around the door and check these:
- Cables: Look for fraying, kinks, or flattened spots. Cables should run clean and straight. Any strand that has popped loose means the cable is close to failure.
- Rollers: Chipped or cracked nylon, flat spots on steel, or visible grinding marks on the track mean the roller is on the way out.
- Bottom seal: Cracked, torn, or missing sections let cold air, water, and pests in. In Norwalk’s wet winters, a failing seal also means water tracking under the door and pooling at the threshold.
- Panels: Look for dents, warping, or separation at the seams. Even a small warp throws the door off balance.
- Hinges: Loose screws, rust, or visible gaps at the hinge plate.
- Weatherstripping around the frame: This is separate from the bottom seal. If it’s pulling away, you’ll feel a draft along the sides.
- Spring coils: A visible gap in a torsion spring means it has broken. Never try to operate the door with a broken spring.
If anything on this list looks suspect, take a photo and call your technician. A photo can save a diagnostic visit later. Our technicians have up to 13 years of experience reading these cues and can usually tell you the likely fix before the first visit.
Seasonal Adjustments for Connecticut Weather
A garage door in Norwalk lives through real seasonal swings. Hot humid summers, cold winters, and the freeze-thaw cycle in between all put stress on springs, seals, and hardware. Here’s the seasonal rhythm we recommend.
Before Freeze Season (Late October)
- Run the balance test and note any drift.
- Lubricate springs, hinges, and steel rollers.
- Check the bottom seal for cracks; a failing seal wastes heat all winter.
- Test the safety-reverse feature (more on that below).
- Clear leaves and debris from the tracks and the threshold.
- Tighten any loose hinge or bracket screws.
After a Big Storm
- Inspect for wind damage: bent panels, off-track rollers, warped frames.
- Check that the door sits flush against the threshold; a storm can shift the whole door just enough to open a gap.
- Look for water pooling at the door base and re-seal if needed.
- Test the opener to make sure it still engages cleanly.
Spring (Late March or April)
- Re-lubricate everything you did in the fall.
- Inspect for rust on springs and hinges from the wet winter.
- Check the exterior finish on wood or steel doors; peeling paint or rust needs attention before summer.
Summer
- Humidity is your main enemy. Lubricant helps keep corrosion off the springs.
- Check weatherstripping for cracking from UV exposure.
- Listen for new noises. Summer heatsoftens seals and can reveal alignment issues.
DIY-Safe Tasks vs. Tasks That Look Easy but Aren’t
Not everything on a maintenance checklist is safe to do yourself. Some tasks look simple but carry real risk. Here’s an honest breakdown.
Genuinely DIY-Safe
- Lubricating springs, hinges, and steel rollers
- Wiping down the tracks with a damp cloth
- Testing the balance (not adjusting it)
- Testing the safety-reverse feature
- Visual inspection of cables, rollers, panels, and seals
- Tightening loose screws on hinges and brackets
- Cleaning photo-eye lenses
- Clearing debris from the threshold
Looks Simple, Isn’t
- Spring adjustment or replacement. Torsion springs are under hundreds of pounds of tension. A torsion spring can cause severe injury. This is a job for a trained technician, always.
- Cable replacement. Cables run under enormous tension and can whip free if mishandled. Do not attempt this yourself.
- Track realignment. Bending a track back into shape is harder than it looks and can easily make things worse.
- Opener gear or motor repair. Openers have capacitors that hold a charge. Even after unplugging, some components can shock you.
- Replacing bottom panels or a whole door. The weight and balance considerations are real. What looks like a two-person job is usually a three-person job with the right tools.
If a task involves a spring, a cable, or open electrical work, don’t do it. Call us. Our garage door opener repair team can diagnose an opener problem in one visit rather than a homeowner spending half a weekend guessing at it.
Opener and Safety-Reverse Check
Your opener is doing more than opening the door. It’s a safety system, and it needs a monthly check.
Testing the Safety-Reverse Feature
- Place a small box or a roll of paper towels flat on the ground under the door.
- Close the door using the wall control or remote.
- When the door contacts the object, it should reverse direction and go back up.
- If it doesn’t reverse, stop using the opener and call a technician.
Testing the Photo-Eye Sensors
- Close the door and watch the sensor lights (usually one on each side of the opening near the floor).
- Both lights should be steady, not blinking.
- Wave your hand in front of one sensor. The door should stop or reverse.
- Clean the lenses and repeat if the lights are blinking.
Other Opener Checks
- Listen for grinding or clicking from the opener head. On a chain-drive unit, that’s usually a chain issue. On a belt-drive, grinding often means a gear is failing.
- Check the force settings if the door doesn’t close fully. A door that reverses for no obvious reason may just need the force adjusted.
- Note the model number. LiftMaster, Chamberlain, Genie, Craftsman, and Raynor all have different service patterns, and knowing your model saves time on the diagnostic.
If the safety reverse doesn’t work, treating the door as unusable until a tech arrives is the safe call. It’s a genuine safety issue, not a nuisance.
Building a Yearly Maintenance Schedule
Here’s a simple schedule that keeps a Norwalk door in good shape without turning it into a project. Write the dates on the wall of your garage and you’ll never wonder when you last did it.
- Every month: Balance test, safety-reverse test, photo-eye check, quick visual once-over.
- Every three months: Lubricate springs, hinges, and steel rollers. Wipe down tracks.
- Late October: Full pre-winter inspection. Lubricate everything. Check seals and weatherstripping. Test opener.
- Late March or April: Post-winter inspection. Re-lubricate. Check for rust and seal damage.
- Annually: Schedule a professional tune-up if you haven’t had one. A tech can spot the things that aren’t obvious to a homeowner, especially early cable wear and spring tension drift.
A once-yearly professional tune-up plus the monthly checks above is the whole game. It’s not complicated, and it costs far less than a spring replacement or full garage door repair from a failure that could have been caught months earlier. If you’ve never had a tune-up, that’s the first call to make.
Brand-Specific Considerations
Garage door brands differ in ways that matter for maintenance. A few notes on the brands we see most often around Norwalk:
- LiftMaster and Chamberlain: Many of the openers here are from this family. Belt-drive units are quieter but wear differently from chain-drive. If your opener has a battery backup, check the battery once a year, especially before winter.
- Genie: Genie openers often use screw-drive rails, which need a different lubrication approach than chain or belt. Screw-drive should stay clean and dry.
- Craftsman: Older Craftsman units are common in Norwalk garages. The openers are durable but parts availability can be an issue on very old models. If yours is past a certain age, replacements are often more economical than repairs.
- Amarr and Wayne Dalton: Amarr and Wayne Dalton doors have specific panel and hardware interfaces. When it comes to repair or replacement parts, having a technician familiar with those systems matters.
- Raynor: Raynor doors often use proprietary spring and hinge hardware. Knowing which parts fit saves a visit.
We work across all the major brands so you’re not stuck calling three different companies for three different problems. One call and one team handle the door, the opener, and the springs. If you want a full install or replacement, we handle that too through our Norwalk Garage Door Repair Pros service.
Common Mistakes to Avoid
- Lubricating the tracks. This is the most common mistake we see. Oil on tracks collects grit and turns a smooth surface into a grinding one. Keep tracks clean and dry.
- Using WD-40 as a spring lubricant. WD-40 is a solvent, not a lubricant, and it strips existing protection. Use a proper spring or silicone lubricant.
- Adjusting spring tension yourself. It’s the single most dangerous thing on the list. Springs store energy that can cause serious injury. Leave them to a trained tech.
- Skipping the monthly safety-reverse test. A door that fails to reverse on an obstruction is a genuine safety hazard, especially in households with kids or pets. Test it every month.
- Ignoring a slow or sluggish door in fall. In Norwalk, a door that starts dragging in October is often a spring-tension warning. Waiting until January means an emergency call instead of a scheduled tune-up.
- Forgetting the bottom seal after winter. A cracked seal lets water and cold air in and can cause the threshold to rot. Check it in spring every year.
- Replacing a whole opener when a part is the issue. Many opener problems (chain noise, force settings, sensor faults) are fixable without a new unit. Get a diagnostic before you decide to replace.
See the difference
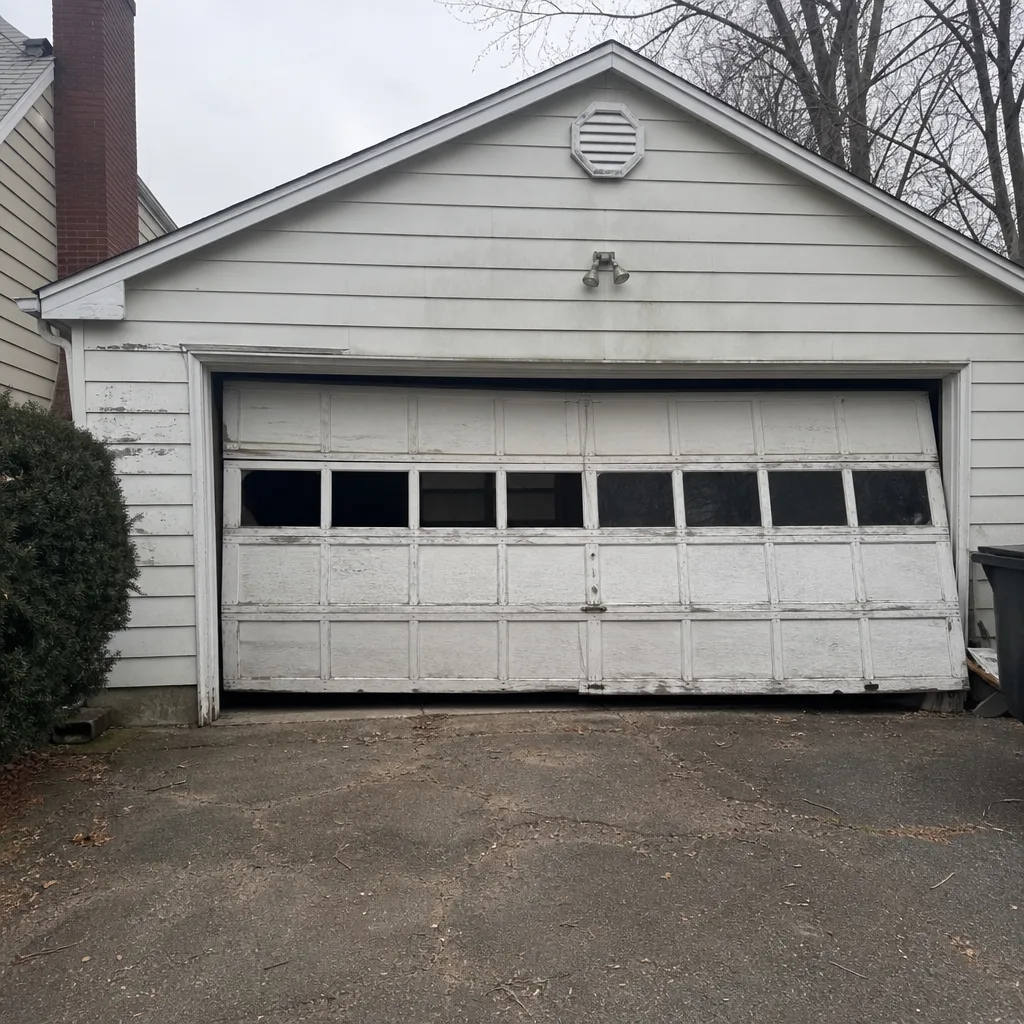 Before
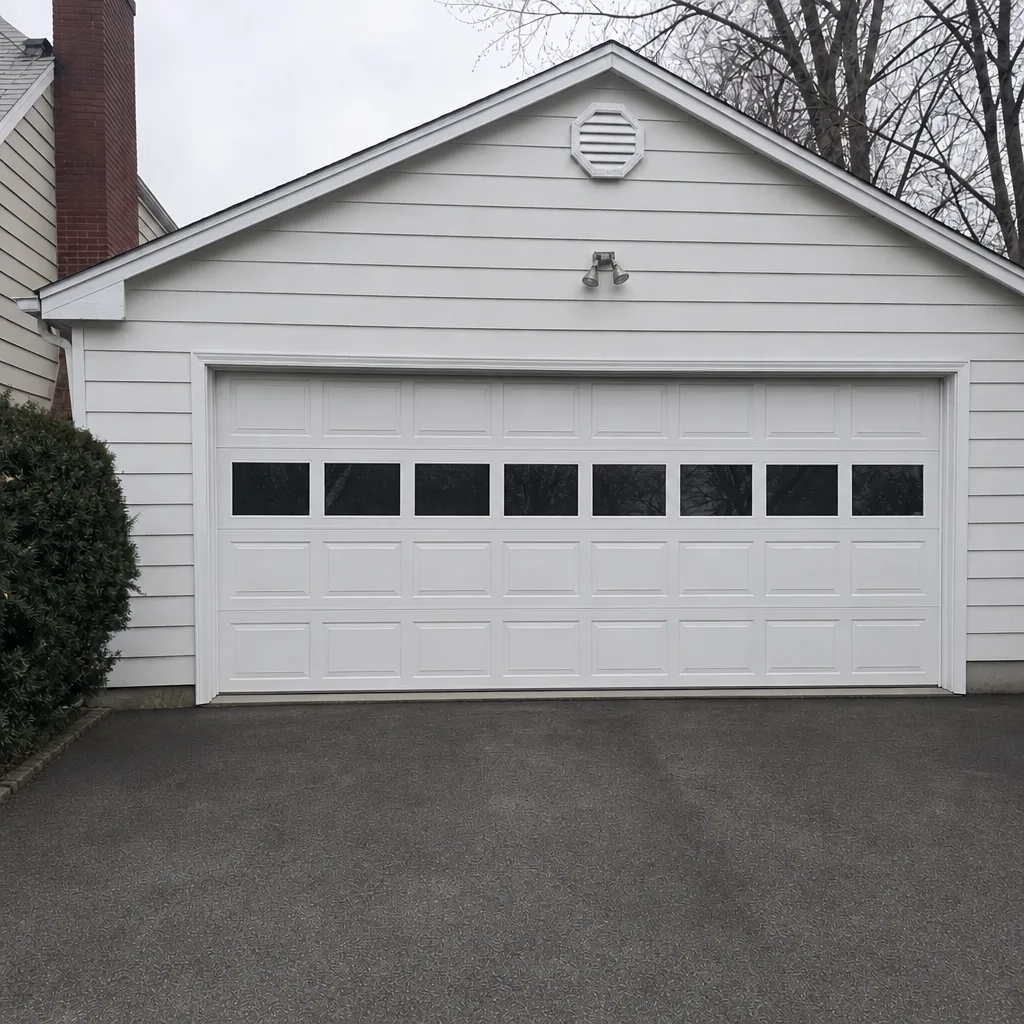 After
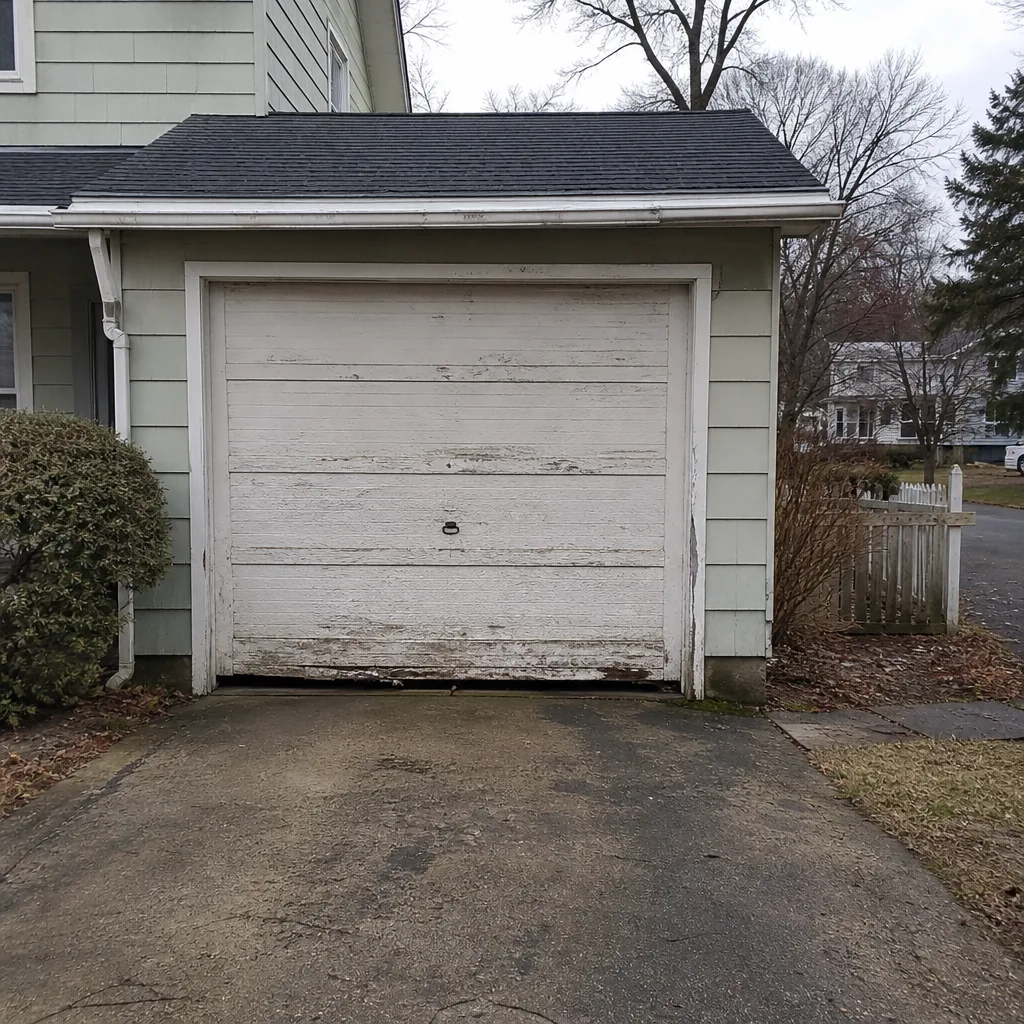 Before
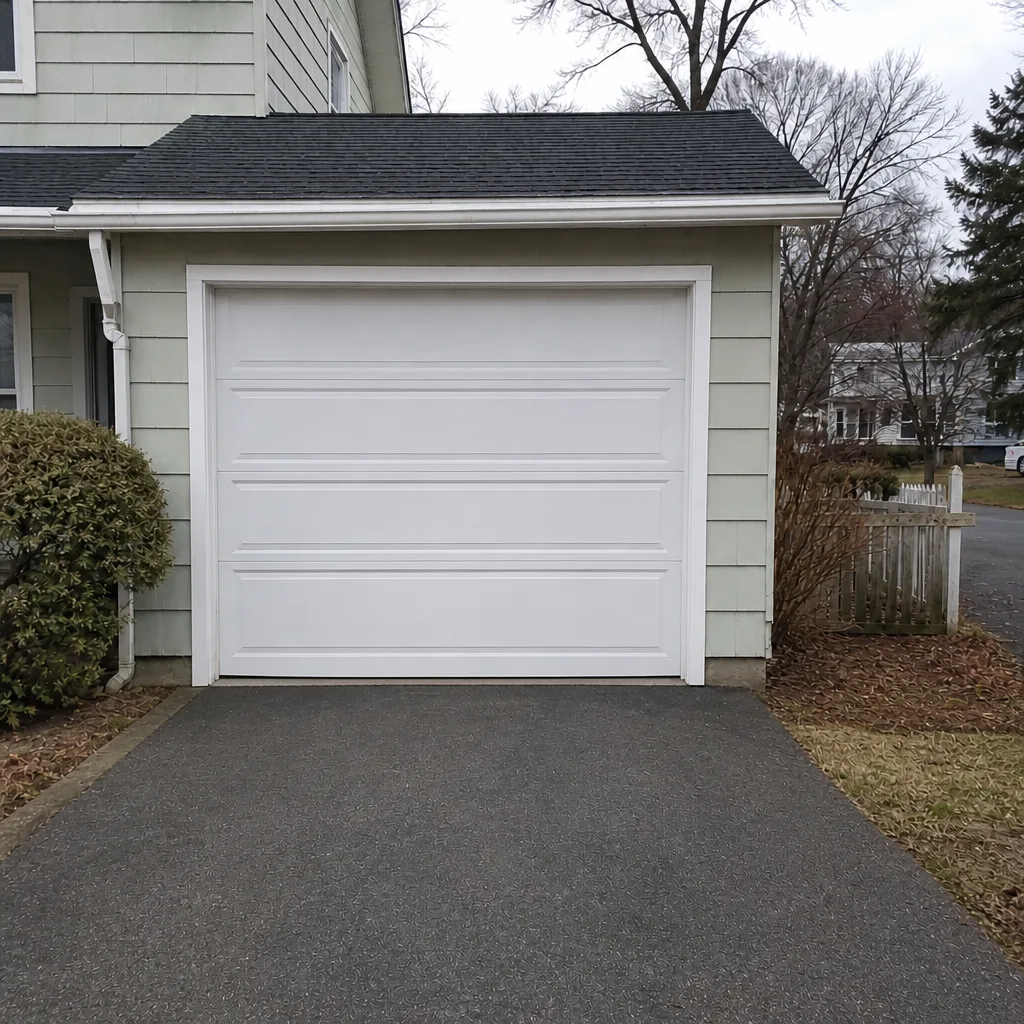 After
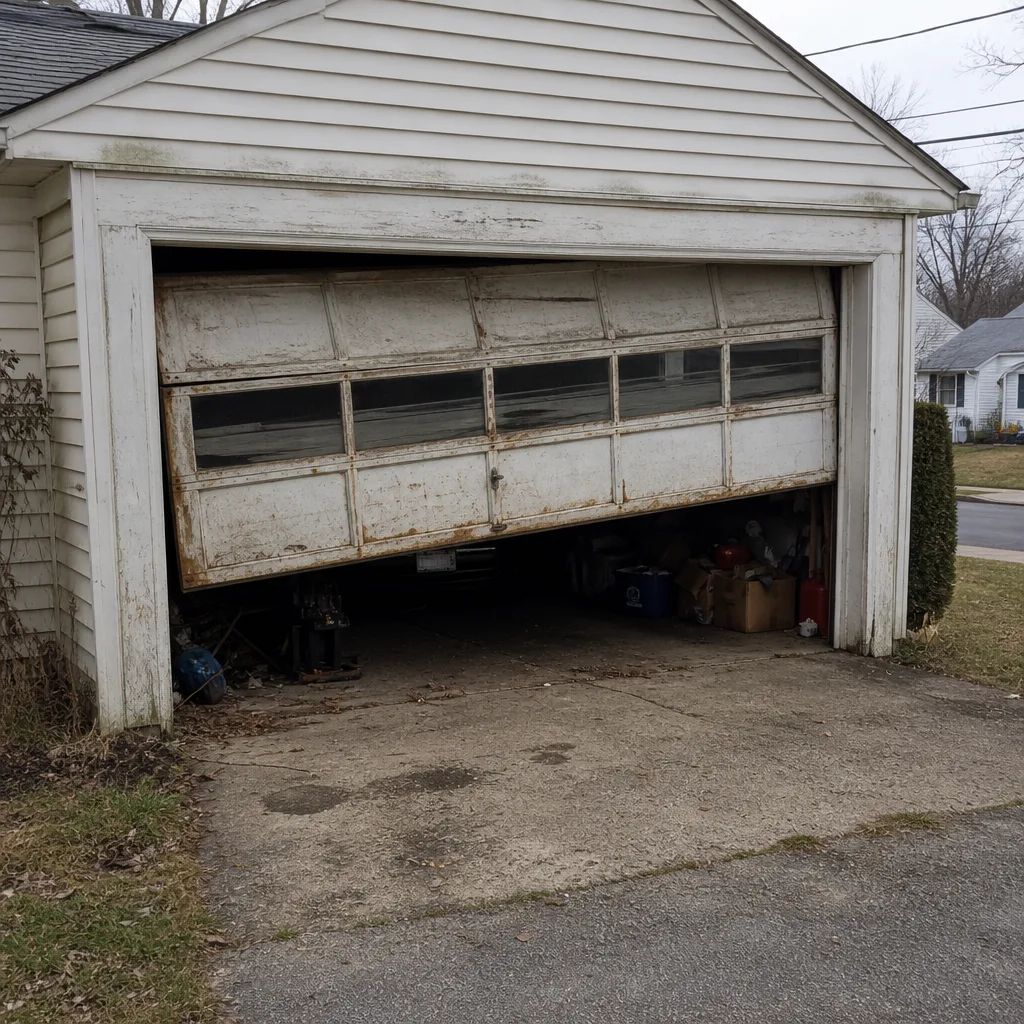 Before
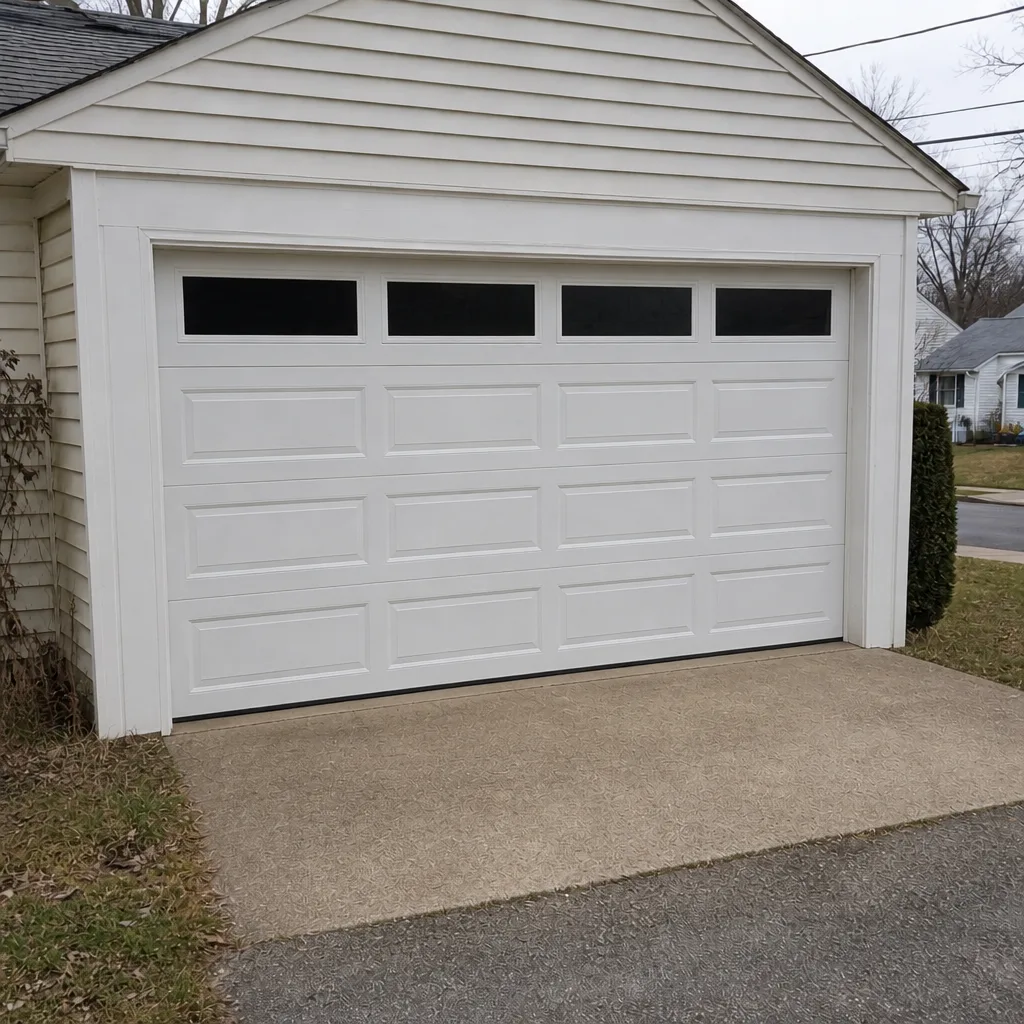 After
When to Call a Professional
Most of this checklist is meant for you. A few scenarios should always go to a technician. A door that fails the balance test twice in a row, a spring that looks broken or shows a visible gap, any cable that’s frayed or kinked, or a door that comes off its tracks during a storm all mean the same thing: stop operating it and call. The same goes for any opener that won’t reverse on an obstruction or makes grinding sounds that don’t go away after a cleaning. Spring, cable, and opener repairs are not worth the risk, and they’re not worth the cost of a second repair after an attempted DIY. Norwalk Garage Door Repair Pros offers free estimates in Norwalk. Call (855) 337-1321 for an exact quote on whatever your door needs.
Frequently Asked Questions
Every three months for springs, hinges, and steel rollers, and a light touch on the opener rail if it’s a chain-drive unit. Norwalk’s humid summers and cold winters make spring lubrication especially important because moisture takes a toll on unprotected coils. If you’re not sure when you last did it, do it now and start the schedule from there.
The balance test is a diagnostic you run yourself in 10 seconds: lift the door manually to waist height and let go. A spring adjustment is a repair that involves changing the tension on a torsion spring, which is dangerous and always goes to a technician. The test tells you the door needs help. The adjustment is the help. If the balance test fails, call (855) 337-1321 for an estimate before the door gets worse.
Yes, for lubrication, visual inspections, the balance test, the safety-reverse test, and cleaning the photo-eye lenses. Do not touch springs or cables. Those carry stored energy and can cause serious injury. If a task involves either one, it goes to a technician. Our technicians have up to 13 years of experience with springs and cables, and we’re happy to handle the parts most homeowners shouldn’t.
Spring repair in Norwalk is quoted per spring and depends on whether it’s a torsion or extension spring and whether you have one spring or a matched pair. A pair is usually replaced together, so the total is roughly double a single spring. We offer same-day and emergency service for spring failures. Call (855) 337-1321 for an exact quote and to check today’s availability; estimates are free.
No. We inspect the door, quote a price, and agree on the number before any work starts. If we find something during the repair that wasn’t visible in the initial assessment, we tell you before we touch it and you decide whether to proceed. The written estimate is the price. Call (855) 337-1321 for a free estimate.
If the balance test fails, if the door makes new grinding or squealing sounds, if a cable looks frayed, or if you haven’t had it professionally inspected in a long stretch, schedule a tune-up. A technician catches early cable wear and tension drift that isn’t obvious from a homeowner inspection. We work with LiftMaster, Chamberlain, Genie, Clopay, Amarr, Wayne Dalton, Craftsman, and Raynor systems, so we’re familiar with whatever’s on your door. Call (855) 337-1321 for an estimate.
The Bottom Line
Garage door maintenance is mostly a few small habits repeated on a schedule: lubricate the right parts with the right product, run a monthly balance test, watch the cables and seals for obvious wear, and time your tune-up to Connecticut’s fall and spring. The tasks that look DIY but aren’t are the ones involving springs and cables, and they always go to a professional. Do the DIY-safe tasks consistently and your Norwalk door will keep working, quietly, for a long time. If you’re behind on maintenance or something on the checklist has flagged a problem, we’re here. Norwalk Garage Door Repair Pros covers repair, opener repair, spring repair, and new installation across all the major brands, with same-day and emergency service when you need it.
Call (855) 337-1321 for a free estimate on garage door repair, spring repair, opener service, or a new installation in Norwalk.
Written by the team at Norwalk Garage Door Repair Pros.